

Wander By Frame | Prochazka

Ready to take your photography up a notch? If you’ve been sticking to auto mode, you’re not alone—but let me tell you, switching to manual or semi-manual modes is a total game-changer. I get it, the technical stuff can feel overwhelming at first, but once you learn the basics, you’ll see just how much control and creativity these modes can give you. Whether you’re looking to nail that perfect shot in tricky lighting or create cool effects like blurred water or frozen action, these modes put you in charge. Let’s dive into 10 reasons why it’s worth learning, plus a simple breakdown of the key settings—ISO, aperture, and shutter speed—to help you get started!

Arcticle Content

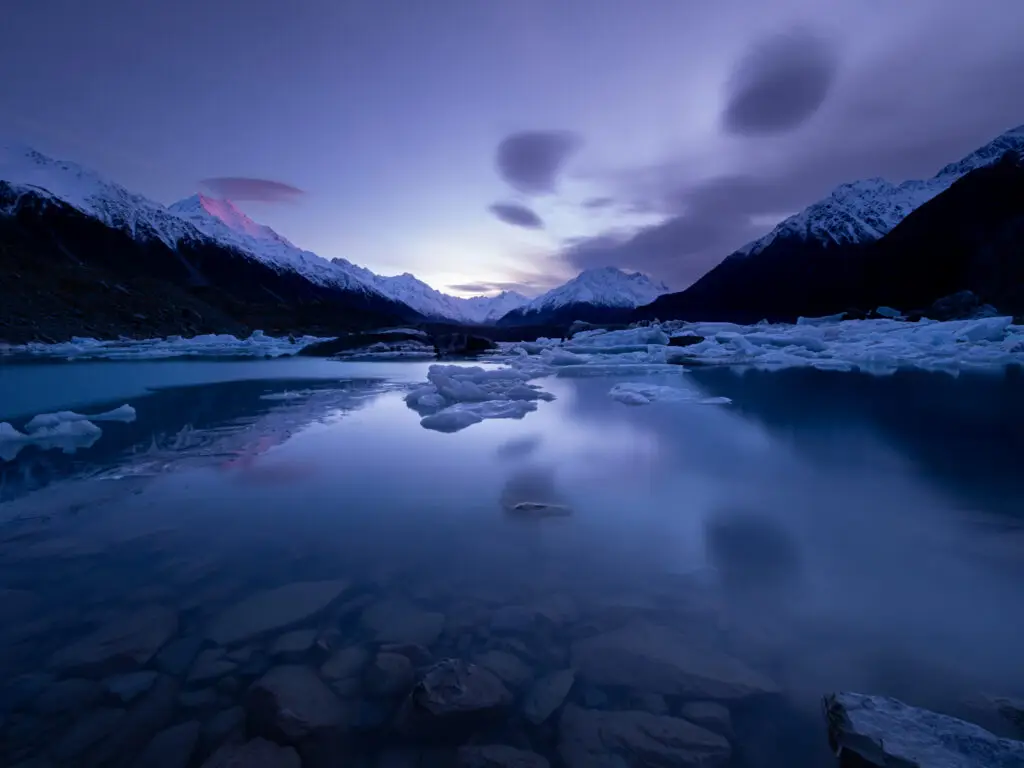
Sunrise over Tasman Lake, Mt. Cook National Park, New Zealand. Switching to Manual mode gave me full control over my camera and allowed me to capture moments like this.

10 reasons Why to Use Manual and Semi-Manual Modes

Every photographer has their own style when it comes to using these modes. Some swear by manual mode, while others switch it up depending on the situation. There’s no “right” way—it’s all about what works best for you. Let’s take a closer look at why you should consider using them.

1. Understand the Fundamentals

When you use manual modes, you understand the core settings that control your camera: ISO, aperture, and shutter speed. We will take a deeper look at these later in this article. These fundamentals help you take great images in any situation.

2. Improve Your Images

Taking control of your camera lets you focus on creativity and fun. Your photos will improve quickly, and you’ll feel confident trying new ideas.

3. Boost Creativity

Want soft, flowing water in a stream or a sharp, frozen image of a skier? Manual modes give you the tools to create these effects and more.

4. Take High-Quality Photos

Your pictures will be sharper and more consistent because you’re controlling the settings rather than leaving them to the camera.

5. Capture Special Moments

Some moments happen in a flash, and as you may know, most of them don’t repeat. When you know your camera settings, you’re ready to capture them instantly.

6. Handle Low-Light Scenes

Low light can be tricky. With automatic mode, you’ll see its limits, but manual modes let you adjust your settings to get great shots even in challenging lighting conditions.

7. Enjoy Photography More

Once you understand how to use your camera, you’ll feel less frustrated and find greater joy in your photography.

8. Save Money on Gear

Learning how your camera works will help you decide which lenses and equipment you really need, saving you from unnecessary purchases.

9. Build Consistency

As you practice, you’ll find your own unique style. Manual modes help you create a consistent and professional look for your photos. By mastering your camera, your work will gain consistency and a signature look. Your portfolio will reflect your unique style.

10. Gain Control

Ditch auto mode and gain control over your camera. You’ll be able to tell the camera what you want, rather than relying on automatic settings. You’ll be in control by turning the dial on your camera!

Single subject in a landscape showing the Superhero Method

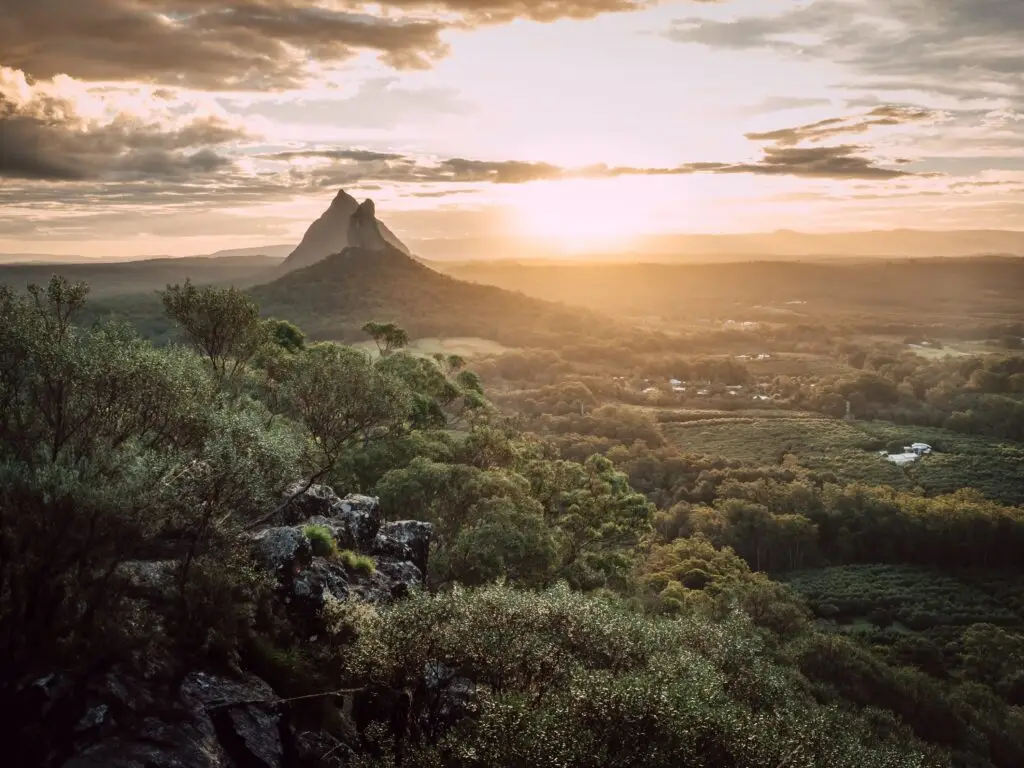
Captured the sunset with challenging backlight conditions using Manual Mode – Mount Ngungun, Queensland, Australia.

How to Switch to Manual or Semi-Manual Modes

Switching from auto mode is easy—just turn the dial on your camera to M, A, S, or P modes. Most cameras offer a variety of shooting modes, and if you’ve used a digital camera before, you’ve likely noticed the mode dial on top. Each setting comes with its own advantages and limitations, and understanding how to use them can have a big impact on your photography.

Manual Mode (M)

In many cases, Manual mode outshines semi-automatic modes. For a lot of photographers, it’s the go-to option because it gives you complete control over every setting. When you’re in Manual mode, you’re the one calling the shots—everything from aperture to shutter speed and ISO

It’s all about full control, so you can fine-tune your shot exactly the way you want it! No limits—just let your creativity flow and take your photography to the next level.

Program Mode (P)

In Program mode, the camera handles the aperture and shutter speed for you based on the lighting, but you still get to control important settings like ISO and White Balance.

It’s the perfect next step after Auto Mode—a great way to ease into taking more control of your shots without feeling overwhelmed. Program mode gives you a nice balance between creativity and automation!

Aperture Priority (A)

Use Aperture Priority mode when your main focus is getting the perfect aperture. In this mode, the camera automatically adjusts the shutter speed based on your selected aperture and the lighting conditions. As the photographer, you control the aperture first, along with settings like ISO and White Balance. 
 
It’s a great way to ensure your depth of field is just right while still letting the camera handle some of the heavy lifting! This mode is especially great for portraits, where you want a beautifully blurred background and sharp subject.
 

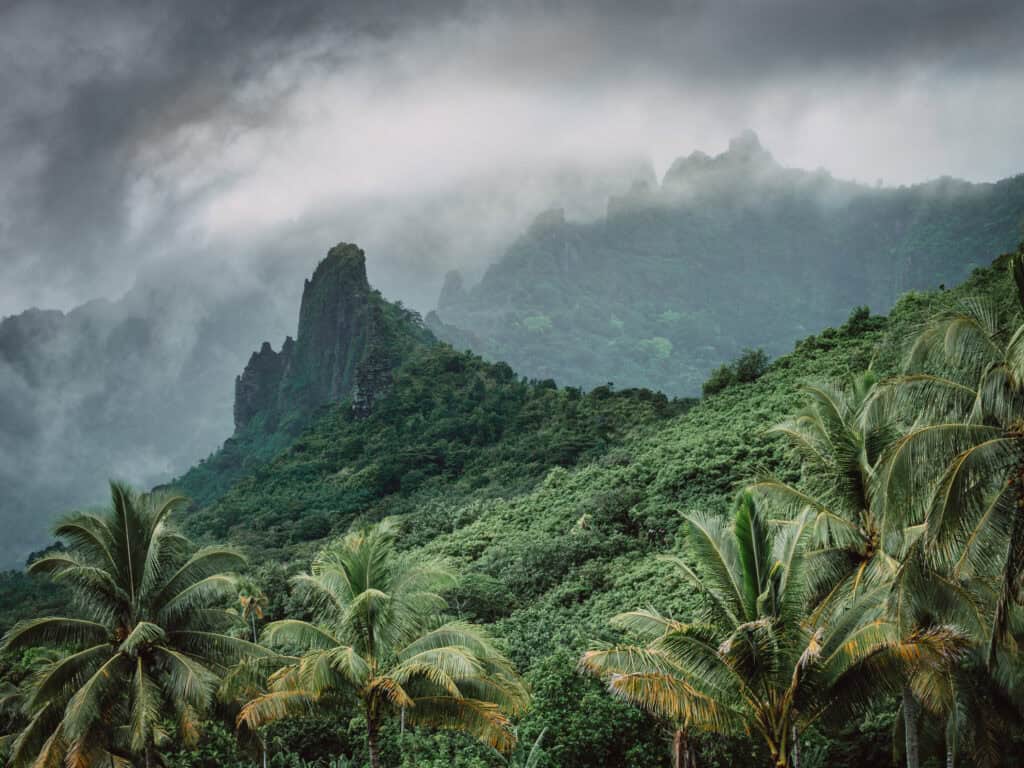
After heavy rain, the moisture creates moody conditions in Moorea Forest, French Polynesia. Aperture Priority (A) was my choice.

Shutter Priority (S)

Use Shutter Priority mode when your main focus is getting the perfect shutter speed. In this mode, the camera automatically adjusts the aperture based on your selected shutter speed and the lighting conditions. As the photographer, you control the shutter speed first, along with settings like ISO and White Balance. 

This mode is super useful for adventure photography, capturing fast-moving subjects, wildlife shots, or creating long exposure effects like blurred water. It’s all about freezing action or adding motion blur, while letting the camera handle the aperture.

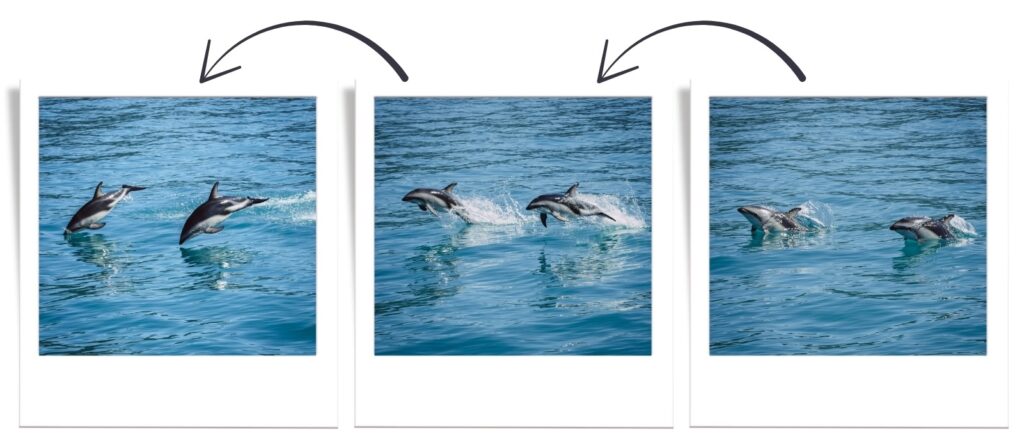
Shutter Priority (S): Capturing Fast-Moving Moments – Jumping Dolphins in Kaikoura, New Zealand

Key Settings to Master - Aperture, Shutter Speed and ISO

To use manual and semi-manual modes, you need to understand three key settings:

Aperture

The size of the opening in the lens controls how much light passes through and hits the camera’s sensor. Aperture is measured in f-stops, usually ranging from f/1.2 to f/22.

  • Wide opening (f/1.2 to f/2.8) = More light, a small portion of your image is in focus (blurred background) — Great for portraits.
  • Narrow opening (f/8 to f/22) = Less light, a large portion of your image is in focus — Great for landscape photography.

Aperture affects light (exposure) and depth of field (how much of the scene is in focus).

Shutter Speed

The time during which the shutter opens and closes, allowing light to reach the camera’s sensor. Shutter speed is measured in seconds, with some values given in fractions of a second.

  • Fast shutter speed (1/8000s to 1/60s) = Short exposure, less light — Used for freezing motion, such as in adventure photography.
  • Slow shutter speed (1/60s to 60s or more) = Long exposure, more light — A creative option for capturing blurry water effects.

Shutter speed affects light (exposure) and motion blur (e.g., for waterfalls).

ISO

The sensitivity of your camera’s sensor to light.

  • Low ISO (50 to 300) = Less light reaching the camera sensor, darker image, less grain — Great in good lighting conditions (e.g., sunny day, landscape photography).
  • High ISO (300 and higher) = More light reaching the camera sensor, brighter image, more grain — Used in low-light scenes (e.g., indoors, night photography).

ISO affects light (sensitivity) and image quality (grain).

Final Thoughts on Manual and Semi-Manual Modes

Does using manual or semi-manual modes feel intimidating? It doesn’t have to be! With a little practice and the right resources, you can unlock the full potential of your camera and take your photography to the next level. Discover how to create stunning, professional-quality images while gaining a deeper appreciation for photography as an art form.

Get started today with my free e-book: 4 Key Tips to Break Away from Ordinary to Extraordinary Photography. This beginner-friendly resource is designed to help you feel confident in your skills, create images you’re proud of, and perfectly capture the mood of every scene.

Transform your photography today!