
If you’re just getting into photography, you’ve probably come across the terms RAW and JPEG. Maybe you’ve heard that RAW is “better,” but you’re not sure why—or if it’s even the right choice for you. Understanding the difference between RAW and JPEG formats can help you take better photos and improve your photography skills.
When I first started, I felt the same way. I read tons of articles, got overwhelmed by conflicting opinions, and bounced between shooting in RAW and JPEG without really knowing what I was doing. It wasn’t until I started editing my photos that everything clicked. I realized that JPEGs gave me almost no flexibility, while RAW allowed me to bring my images to life. If you’re feeling confused, don’t worry—I’ve got you! Let’s break it down in a way that actually makes sense.
Article Content
What Is the JPEG Format and How Does It Affect Your Photos?
JPEG is a processed image format. When a photo is taken, the camera automatically adjusts settings like color, contrast, white balance, and sharpness before compressing the image into a smaller file size. Essentially, the camera does the editing for you, so JPEG photos are ready to use straight out of the camera.
This makes JPEG a great option if quick, shareable photos are needed without worrying about post-processing (photo editing). Since the files are smaller, they also take up less storage space. However, there’s a trade-off: because extra data is discarded to create that smaller file, there is very little room to edit the image later. If exposure is off or the lighting isn’t perfect, recovering details becomes much more difficult compared to a RAW file.
For beginners who don’t want to worry about editing yet, JPEG can be a great way to focus on learning composition and camera settings first.
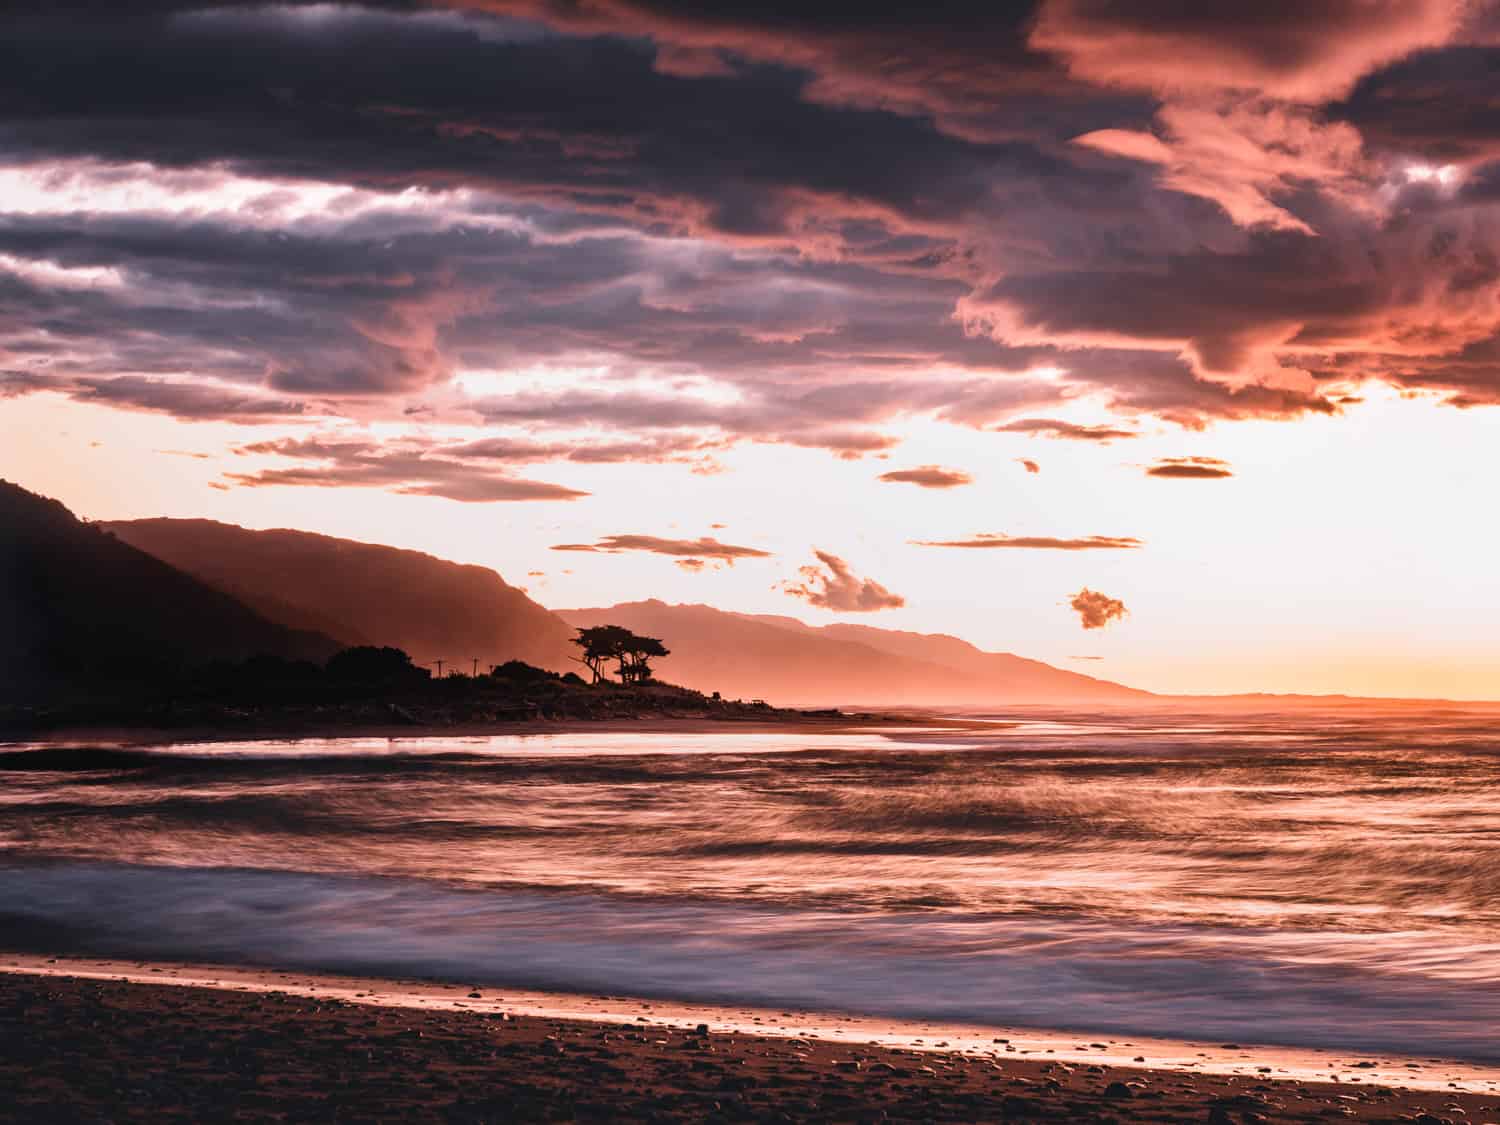
New Zealand’s West Coast can be a rough place, but when it’s not pouring rain, it can feel like paradise—especially at sunset.
What Is the RAW Format and Why Is It Better for Editing Your Photos?
RAW is an uncompressed file format that preserves all the data captured by the camera’s sensor. Instead of letting the camera make editing decisions, RAW gives full control over the final look of an image.
Here’s why that matters:
➜ A RAW file contains 4,000 – 16,000 levels of brightness, compared to about 250 levels in a JPEG. That’s a huge difference! More brightness levels mean you can make significant adjustments to exposure, highlights, shadows, and color without losing quality.
➜ RAW files have a bit depth of 12-bit or 14-bit, while JPEGs are only 8-bit. This means RAW stores billions of colors, while JPEG stores only 16.7 million—giving you way more editing flexibility.
➜ Since RAW files aren’t compressed, they retain maximum image detail, allowing for corrections and enhancements in post-processing.
➜ JPEG compression can cause artifacts. Editing and saving a JPEG multiple times can cause noticeable quality loss due to compression.
➜ RAW files are much larger than JPEGs, typically 2-4 times bigger, requiring more storage space. Cloud storage options like Google Drive, Dropbox, or external SSDs can help manage large RAW collections.
With RAW, editing is necessary before sharing. But that’s where the magic happens! Editing isn’t just about “fixing” an image—it’s an essential part of creative photography. It allows enhancement of mood, bringing out details, and putting a personal touch on each shot. The best part? You don’t need to be an expert—just small, simple tweaks can make a big difference.
Editing RAW Photos - Enhancing Natural Light and Colors
One common misconception about post-processing (photo editing) is that it alters a scene into something entirely different. In reality, editing RAW photos is about enhancing what was already captured—adjusting the light, colors, and details within the image.
Unlike extreme Photoshop manipulations, where elements might be added or removed, working with RAW means you’re refining the image to make it more vibrant and true to the moment. Some photographers may add skies or make drastic changes in editing, while others focus solely on enhancing the natural light and colors already present in the scene. The choice is yours, and in the end, you are the artist.
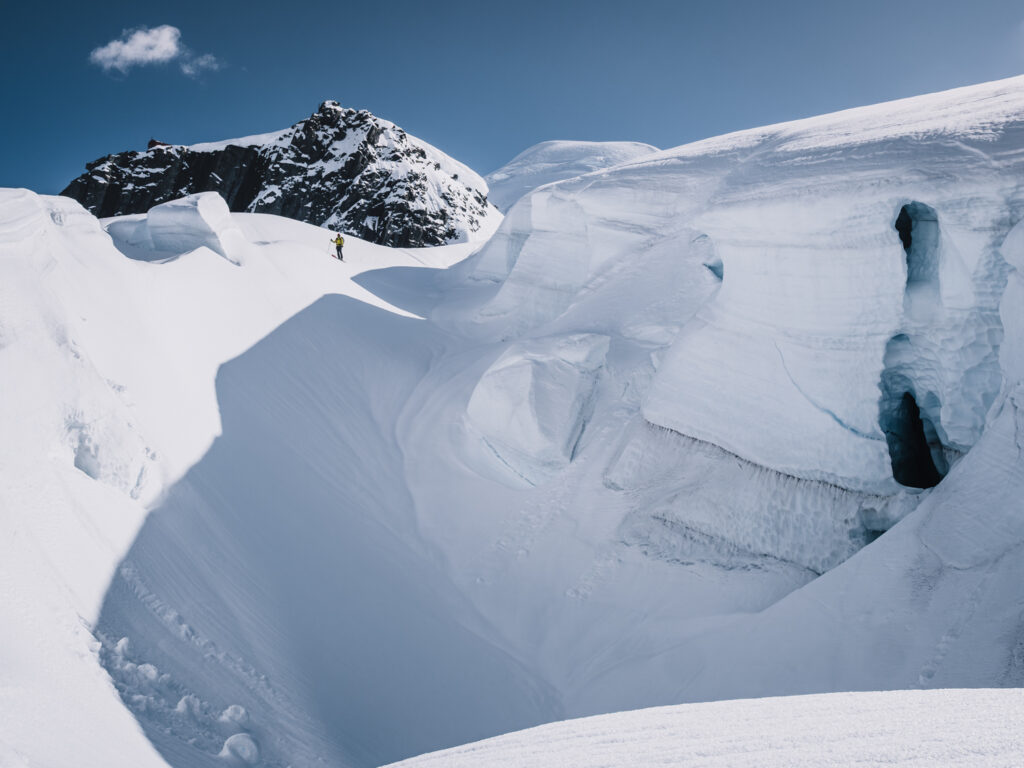
Some adventure moments are unrepeatable—they happen only once, making it essential to know how to capture them. This is our friend Lucas skiing between crevasses on the Tasman Glacier in Aoraki/Mount Cook National Park, New Zealand.
For adventure photography, where natural light plays such an important role, working with RAW gives you more control to adjust the lighting, shadows, and colors to accurately capture the atmosphere of the moment. Whether you’re shooting landscapes, action shots, or quiet nature scenes, RAW allows you to bring out the best in every situation. For the best results, try shooting manually, adjusting your settings to match the unique conditions of each scene.
Do You Need to Use Manual Mode to Capture RAW Photos?
No, you don’t need to use Manual shooting mode to capture RAW images. You can shoot in RAW in any mode your camera offers, including Auto, Aperture Priority, or Shutter Priority. The key factor for shooting in RAW is simply selecting the RAW file format in your camera’s settings.
However, using Manual mode gives you more control over your exposure settings (shutter speed, aperture, and ISO), which can be especially useful in tricky lighting conditions or for achieving a specific look in your photos. It’s a personal choice—Manual mode offers more creative freedom, but it’s not required to capture RAW images.
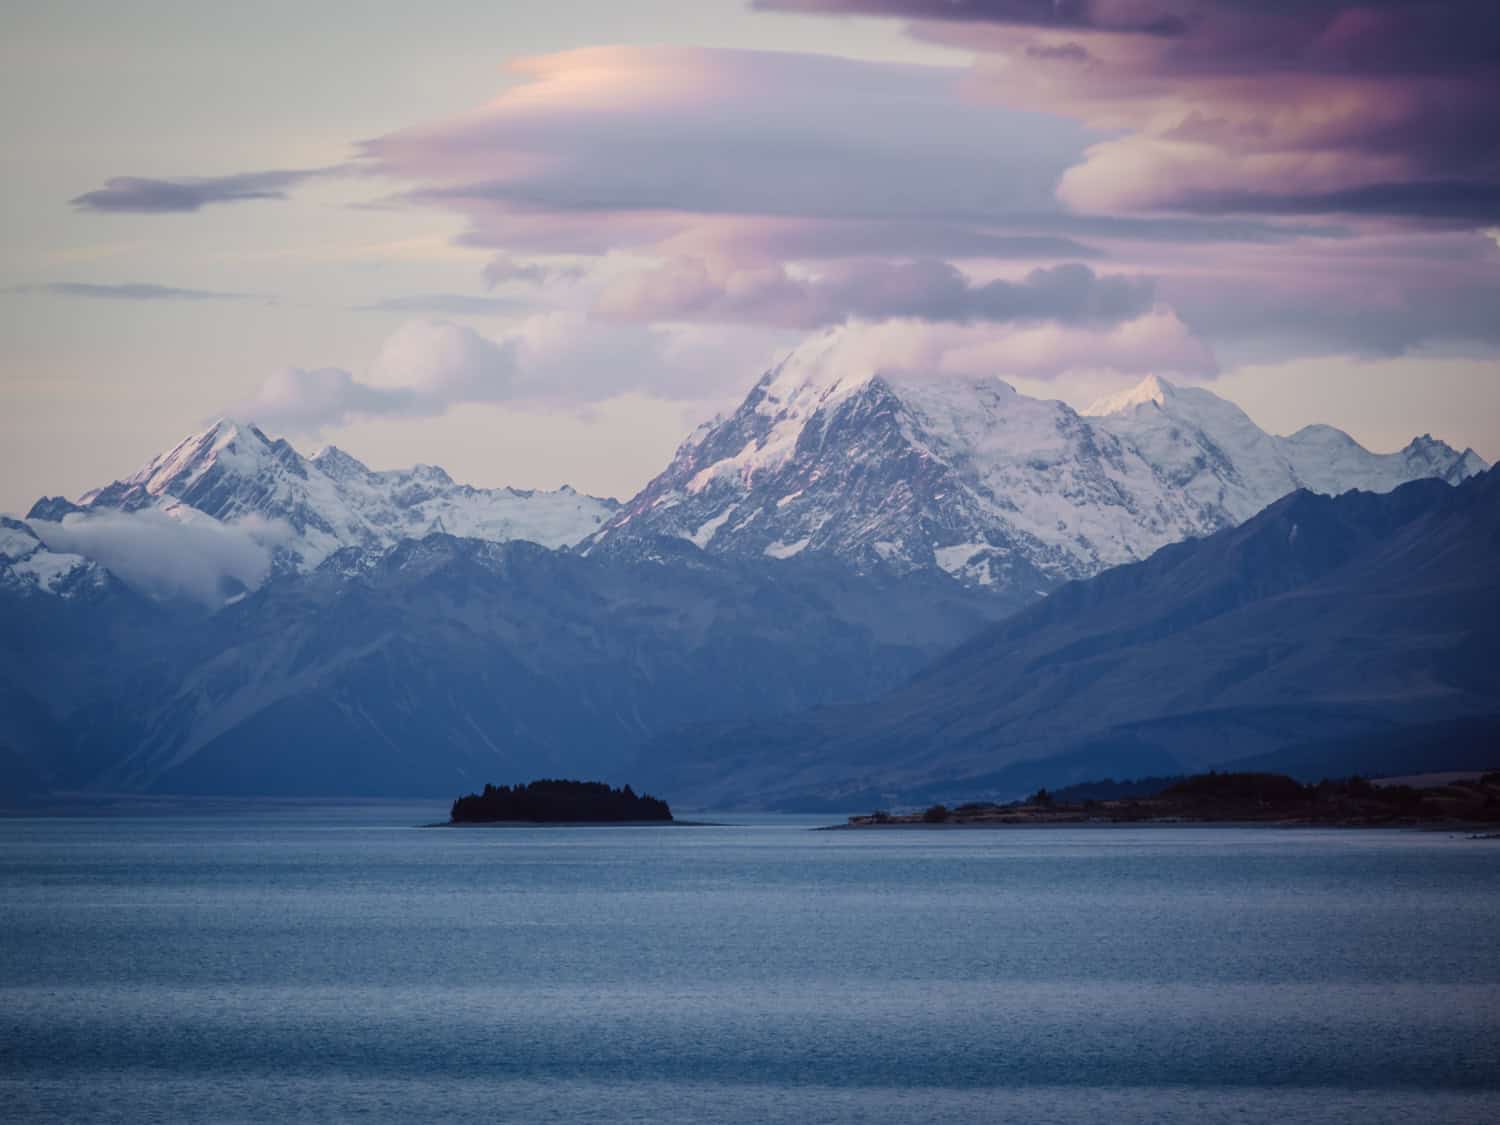
Mt. Cook shrouded in clouds during sunset. The challenging lighting conditions made RAW format especially useful. This majestic mountain is the highest peak in New Zealand.
When to Use Each Format: RAW or JPEG?
Choosing between RAW and JPEG depends on the situation and your goals. Here’s when each format works best:
Use JPEG when...
➜ Quick, shareable photos are needed – Travel snapshots, event photos, or social media posts are easier with JPEGs since they are ready to use straight out of the camera.
➜ Shooting high-speed action – JPEG files are smaller, meaning the camera can process and save them faster. This is helpful for sports, wildlife, or any fast-paced adventure photography where multiple shots are taken in a row.
➜ Storage is limited – JPEGs are significantly smaller than RAW files, allowing more images to fit on a memory card or hard drive. This is useful when traveling or working on long projects.
➜ Editing isn’t a priority – If an image should look good straight out of the camera without post-processing, JPEG is the way to go. The camera applies automatic adjustments for balanced colors, contrast, and sharpness.
Use RAW when...
➜ Full control over editing is needed – RAW files retain all image data, allowing fine-tuning of exposure, colors, shadows, and highlights with maximum flexibility.
➜ Shooting in tricky lighting – Situations like Golden Hour, Magic Hour, and Blue Hour, night photography, or harsh midday light can be challenging. RAW files allow mistakes to be fixed and details to be recovered without losing quality. Working with natural light in RAW provides more flexibility for adjustments.
➜ Capturing a once-in-a-lifetime shot – If photographing a bucket-list destination, a family milestone, or a rare advneture moment, the best quality possible is essential. Shooting in RAW ensures that corrections and enhancements can be made later without degrading the image.
➜ Planning to print photos – If creating high-quality prints, especially large ones, RAW provides the best resolution and detail. JPEG compression can introduce artifacts, which may become noticeable when printing at larger sizes.
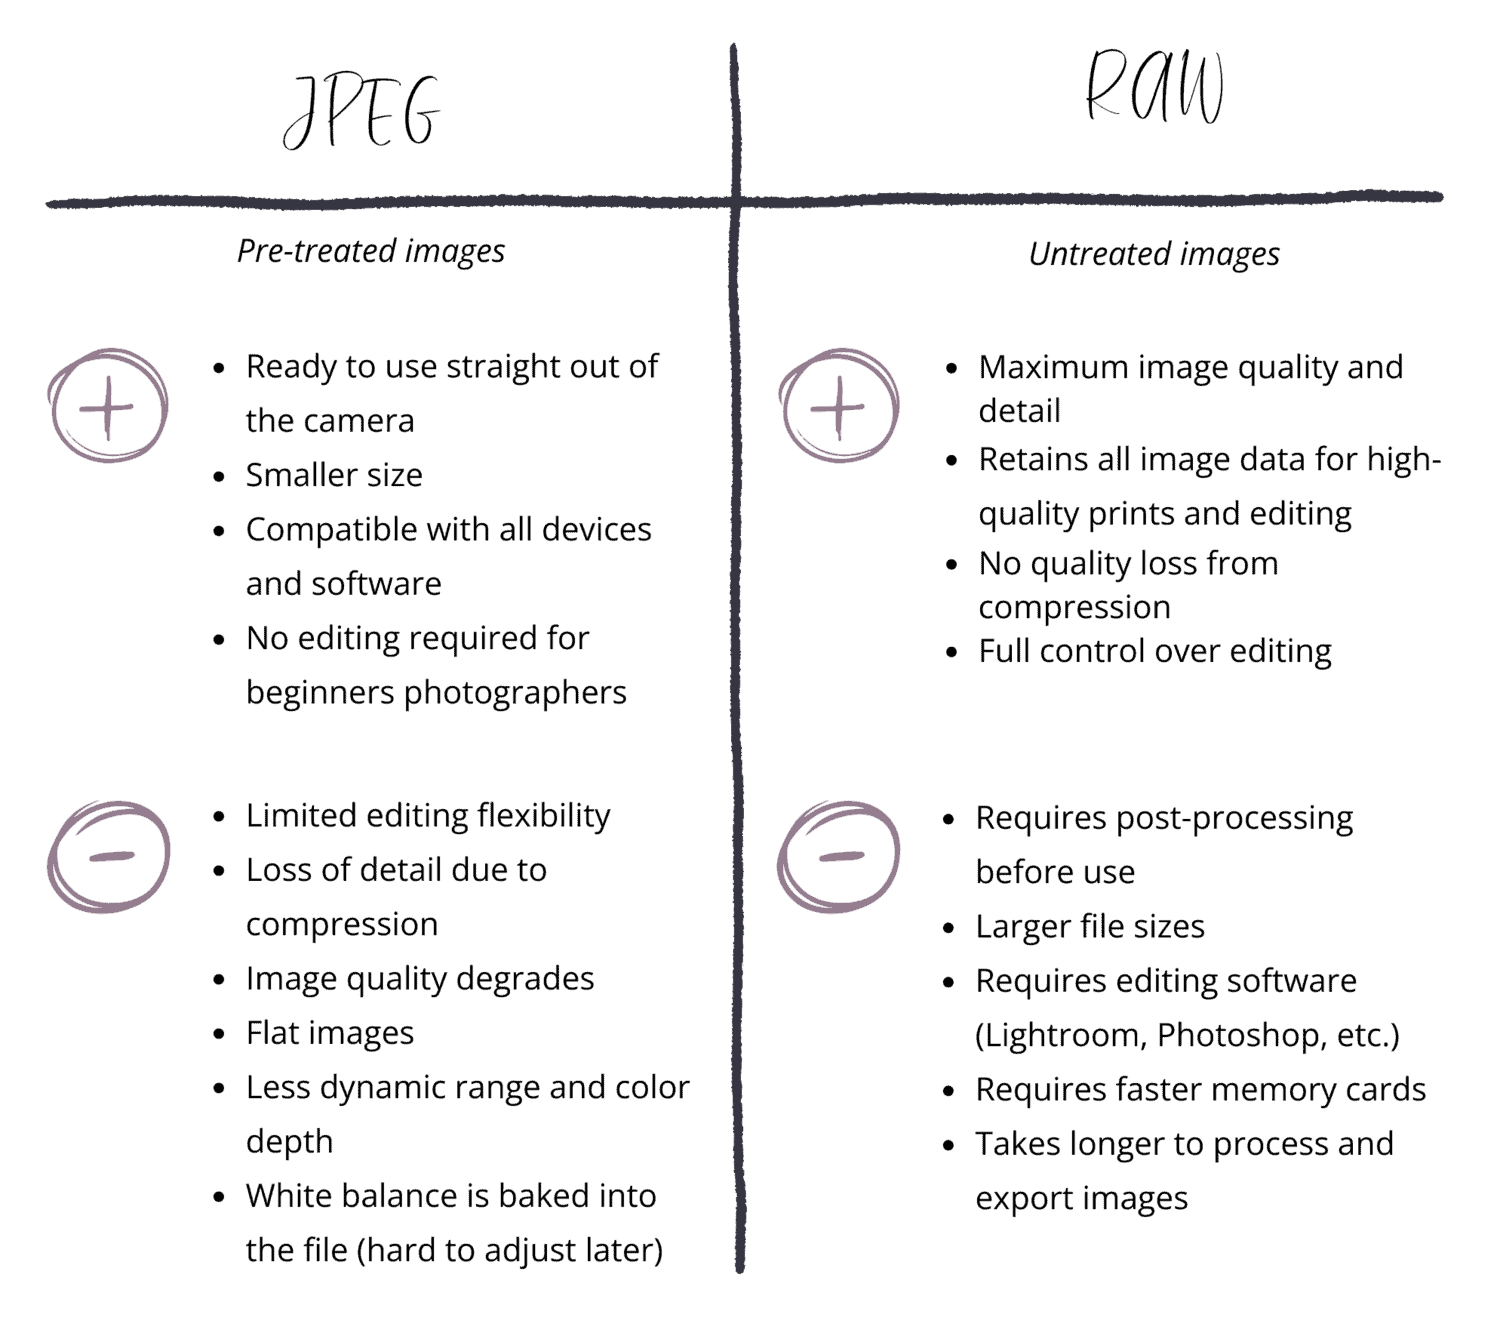
This table of pros and cons for JPEG and RAW formats, will help you decide which format is the best fit for you!
Should You Shoot in RAW + JPEG for More Flexibility?
Still unsure? Many cameras offer a RAW + JPEG mode, letting both formats be captured at the same time. This is a great way to have ready-to-share JPEGs while keeping high-quality RAW files for future editing.
However, keep in mind that this option will require even more memory space since both file formats are saved simultaneously. RAW files are significantly larger than JPEGs, so your memory card will fill up more quickly. Be sure to have enough storage available if you choose this option, especially for long shoots, adventure photography sessions, or when traveling.
Post-Processing Tips for Beginners
If you’re new to post-processing, start with simple adjustments first. Small changes can transform an image, and over time, you’ll develop your own style. A good rule of thumb is to keep everything looking natural—don’t overdo it.
- Exposure – Brighten or darken an image to get the right balance.
- Contrast – Increase contrast for more depth and definition.
- White balance – Adjust the color temperature to make a photo look natural.
- Shadows & Highlights – Bring back lost details in darker or brighter areas.
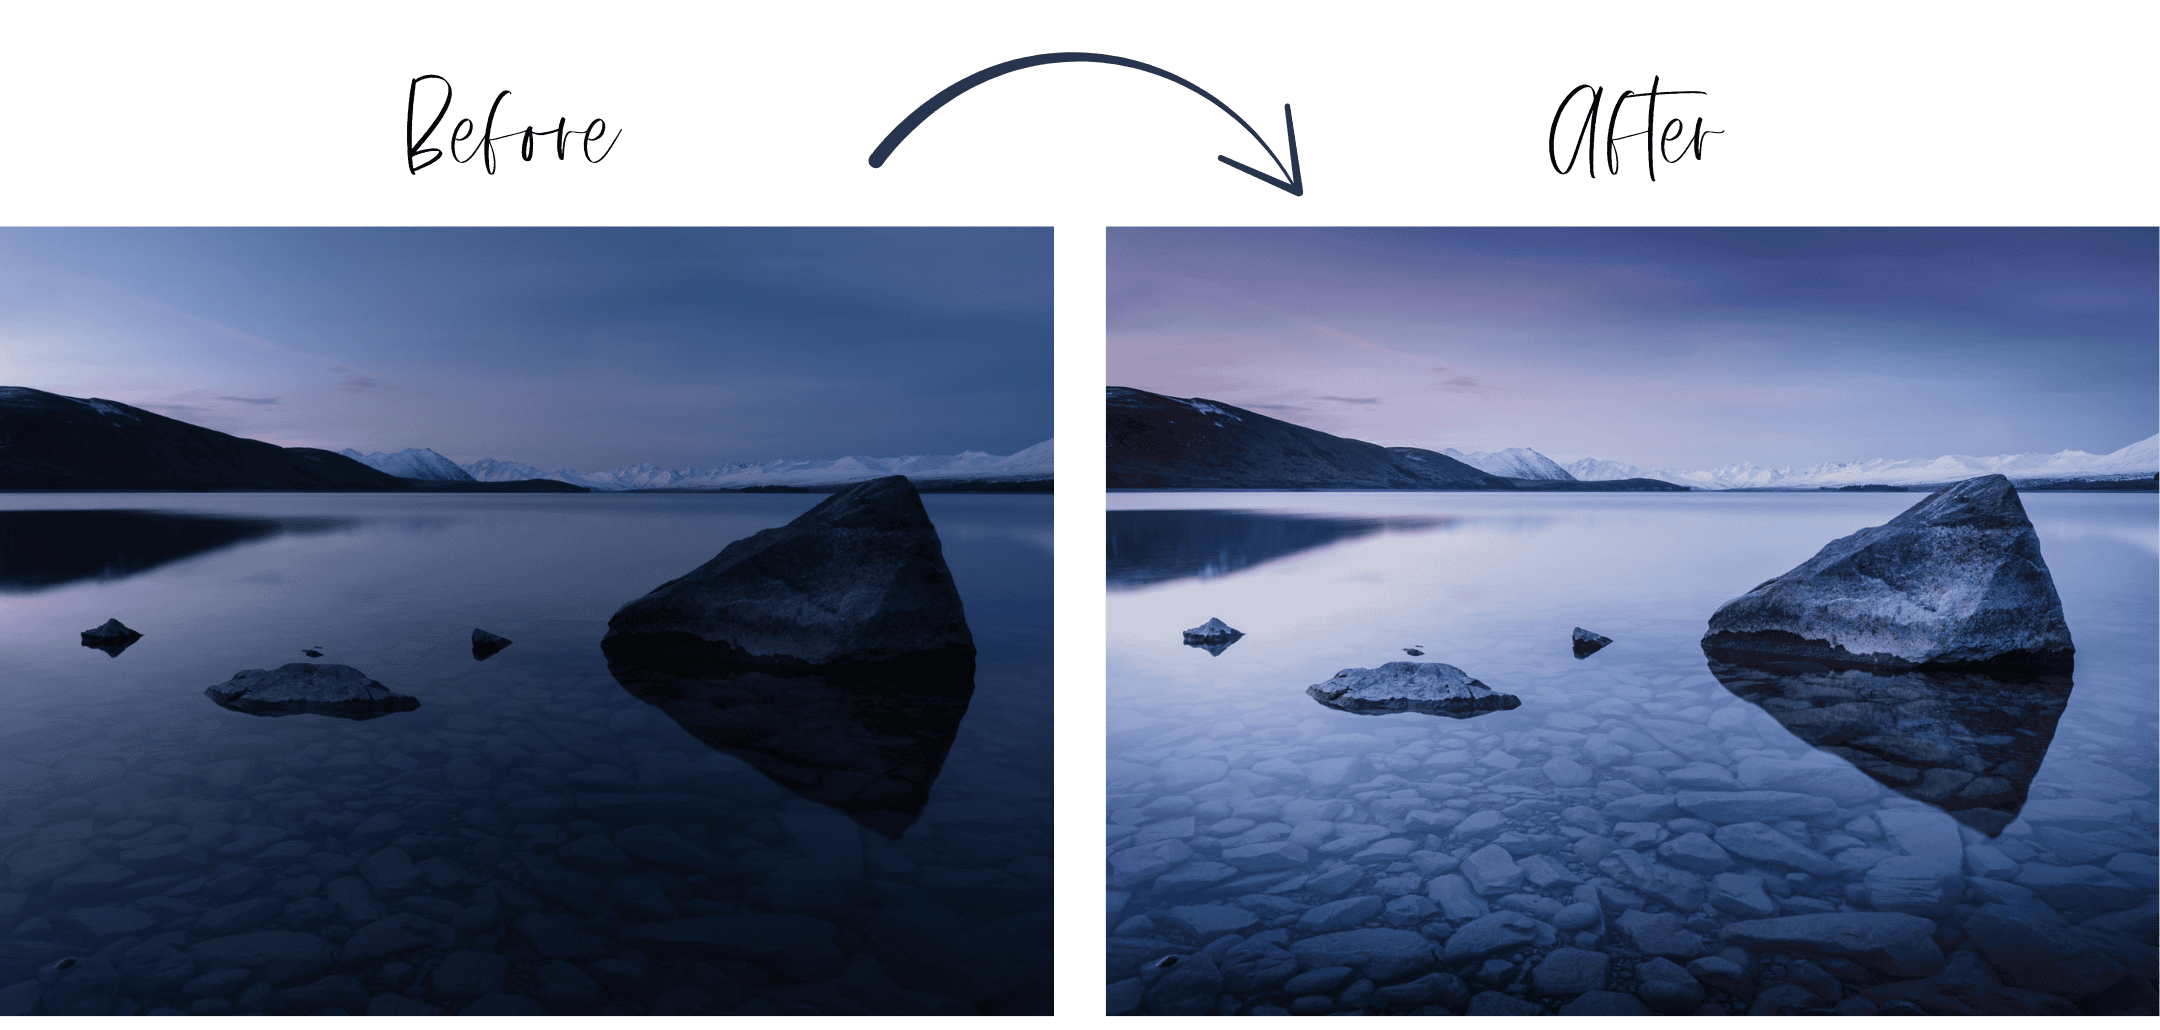
Sunset over Lake Tekapo (New Zealand) with a fresh dusting of snow on the mountains. This image was taken in RAW format, allowing me to make the necessary post-processing (photo editing) adjustments to reflect how I saw this moment.
💡 Tip for Beginners: I know post-processing can feel overwhelming at first, but the best way to start is by experimenting. Move each adjustment slider and observe how it affects your image. This hands-on approach will help you understand editing and build confidence. Remember, experimentation is key! Try free trials of Adobe Lightroom, Photoshop, or Capture One—you’ll see which works best for you.
So, What Should You Use: RAW or JPEG?
Personally, I only shoot in RAW, and I highly recommend it for improving photography. Editing my photos has helped me truly understand light, exposure, and composition. Plus, I love having the creative freedom to bring my vision to life.
Switching to RAW doesn’t have to be overwhelming. Shooting in RAW + JPEG is a great way to experiment with editing while still having ready-to-use JPEGs. There’s no rush—learn at your own pace and enjoy the process. The more you practice, the more confident you’ll feel!
Want to take your photography even further? I’ve put together a free eBook, 4 Key Tips to Break Away from Ordinary to Extraordinary Photography, filled with practical steps to improve your shots and build confidence behind the camera. If you’re ready to elevate your photography, grab your free copy and start experimenting today!
Next time you’re out at a beautiful photography location, try shooting in RAW and see the difference for yourself. Let me know which format works best for you!
Happy shooting!
Keep reading:
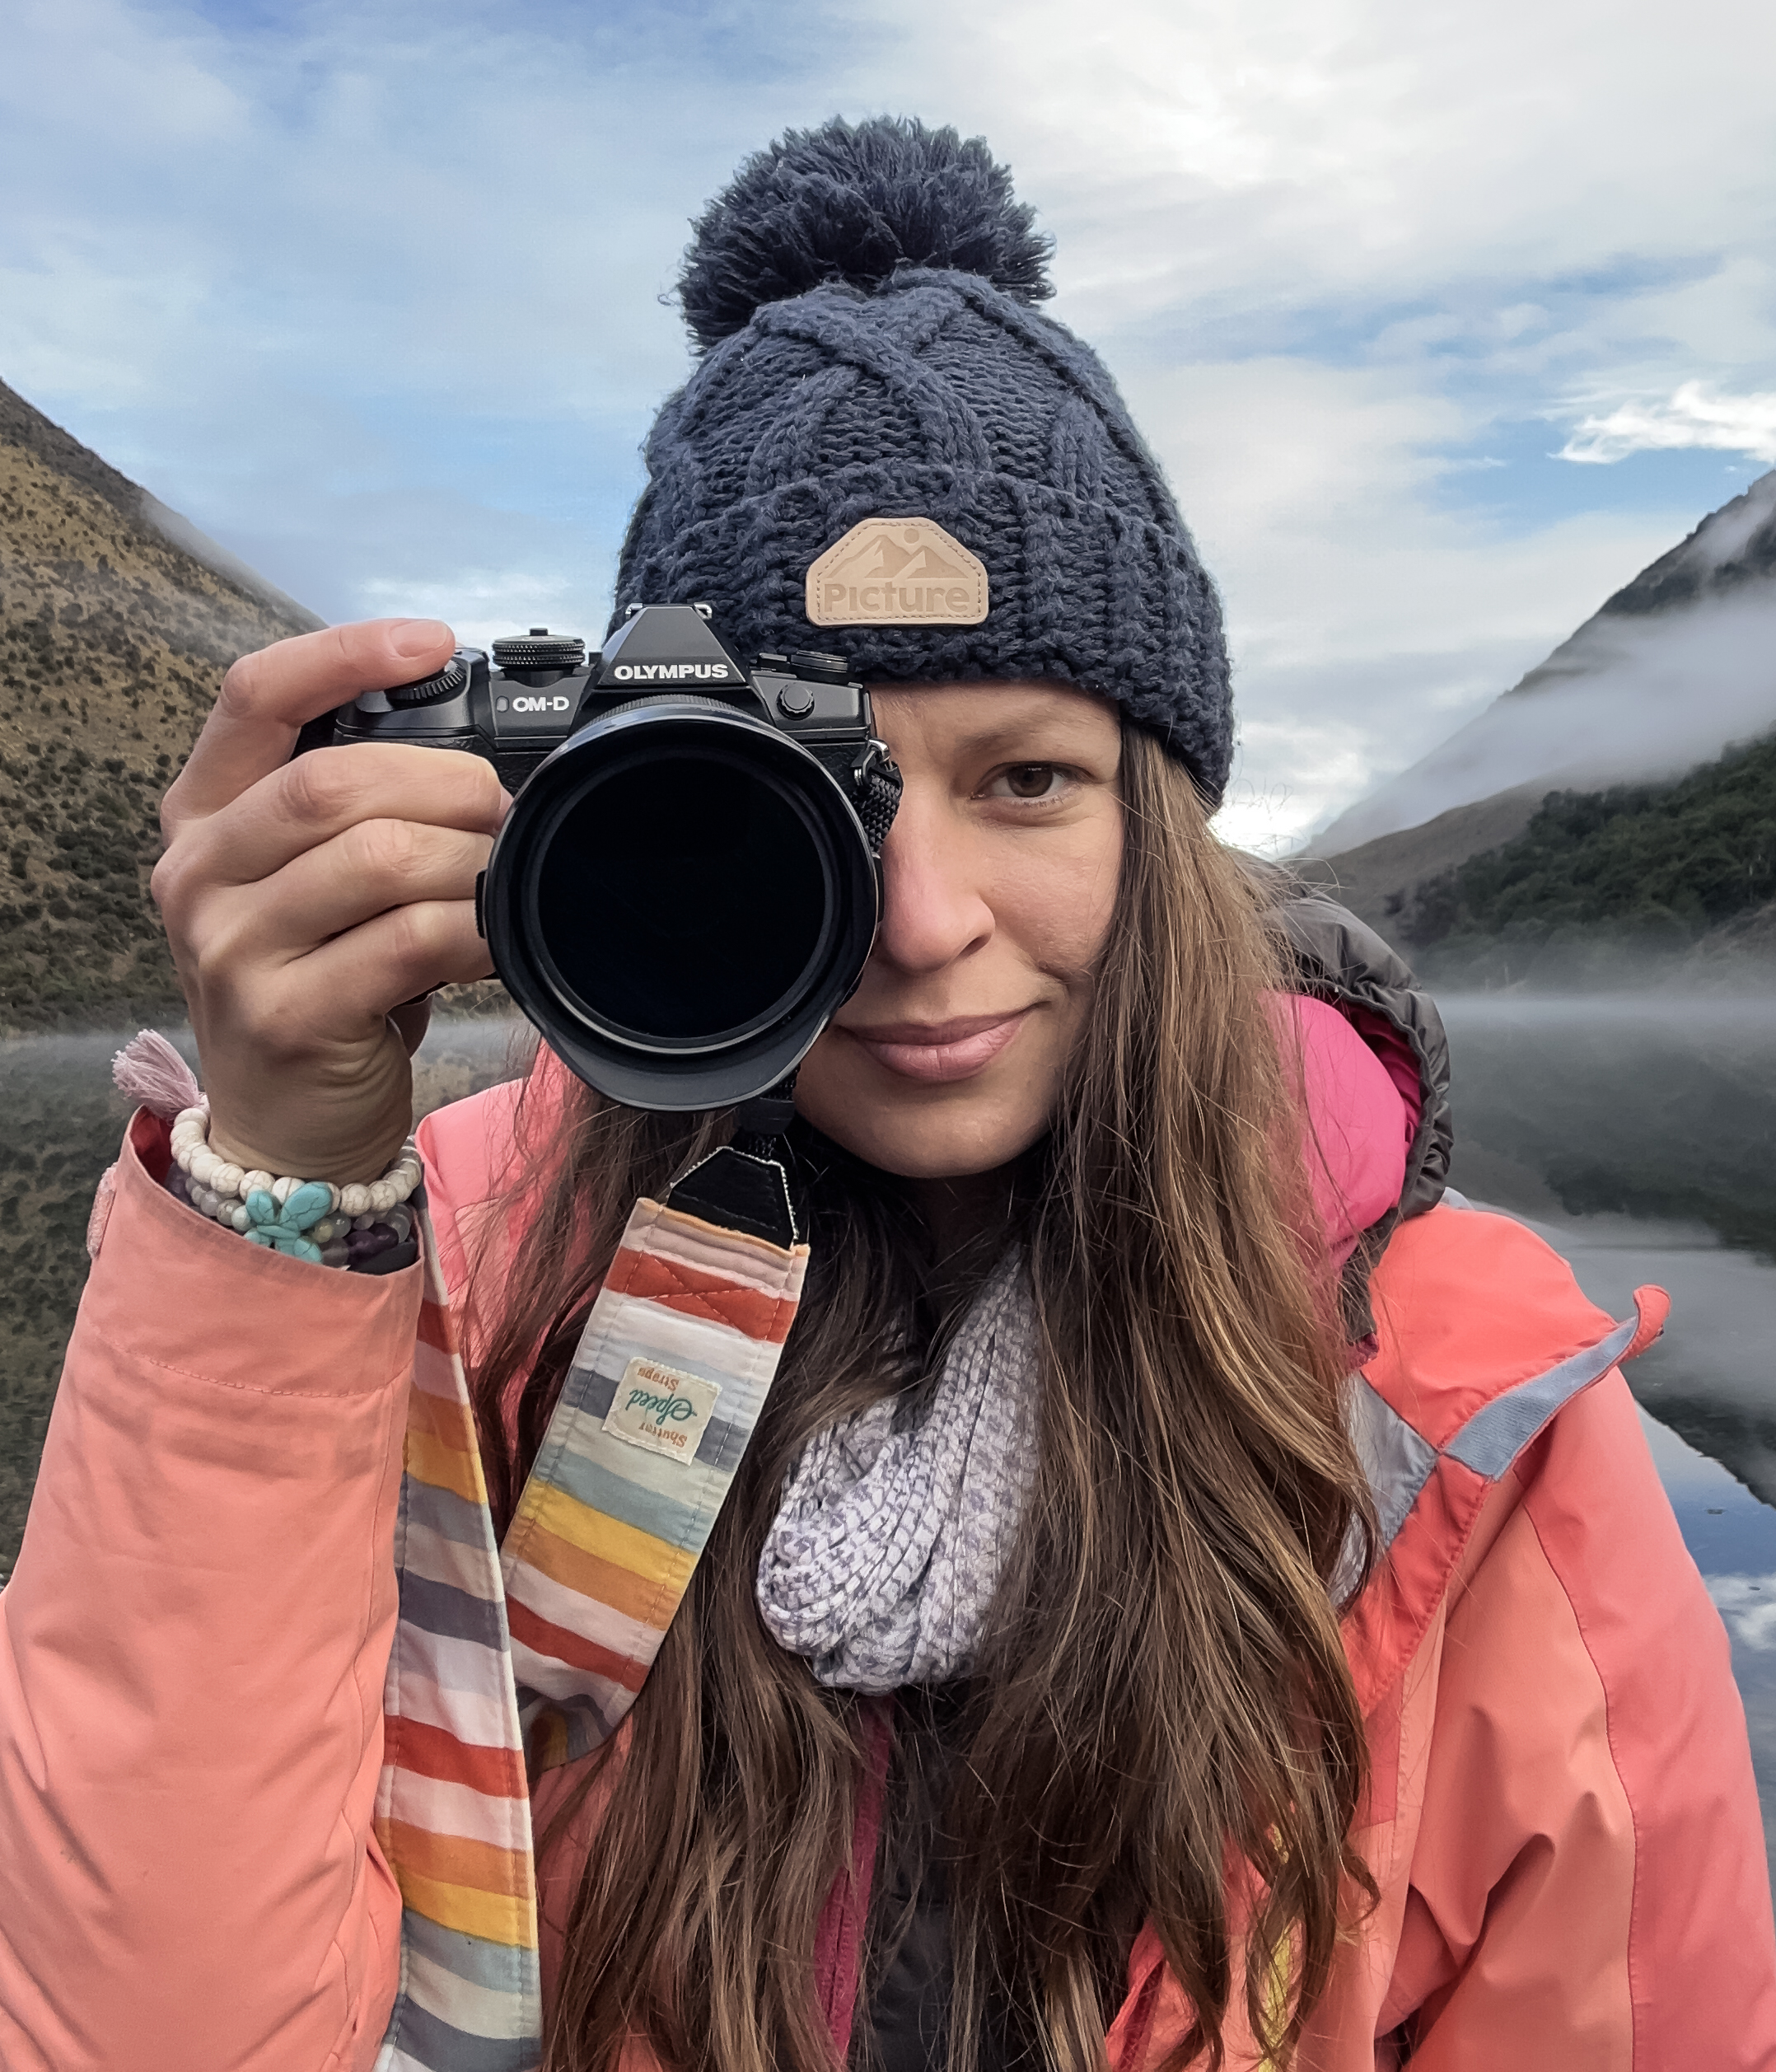
I’m Kat, an adventure and landscape photographer based in the South Island of New Zealand. My mission is to inspire and teach you—new and aspiring photographers with a passion for adventures, landscapes, nature, and travel. I’m here to help you transform your ordinary images into stunning ones you can be proud of. More about me