

Capturing your adventures and personality through a self-portrait is a unique way to tell your story. Snapping a quick selfie with your phone or GoPro might be the easy way out, but as a photographer, you know that using a camera gives you way better quality, more depth, and the chance to truly tell a story. These images don’t just freeze a moment in time—they convey emotions, thoughts, and experiences. They’re more than just pictures; they’re a visual reflection of you.
In this guide, we’ll cover everything you need to know about mastering self-portrait photography—from its importance to choosing outfits, camera settings, essential gear, and more. Let’s get started!
Article Content
What Is a Self-Portrait?
A self-portrait is more than just a photo—it’s a way to put yourself in the story. In adventure photography, this can be especially rewarding. Why take one? Maybe you’re out exploring solo, or there’s no one around who knows how to use your camera the way you do. Capturing yourself ensures the shot looks exactly how you envisioned it.
Adding yourself to the scene also brings a personal touch, making your images more than just landscapes. It adds emotion, depth, and a real sense of adventure—your adventure.
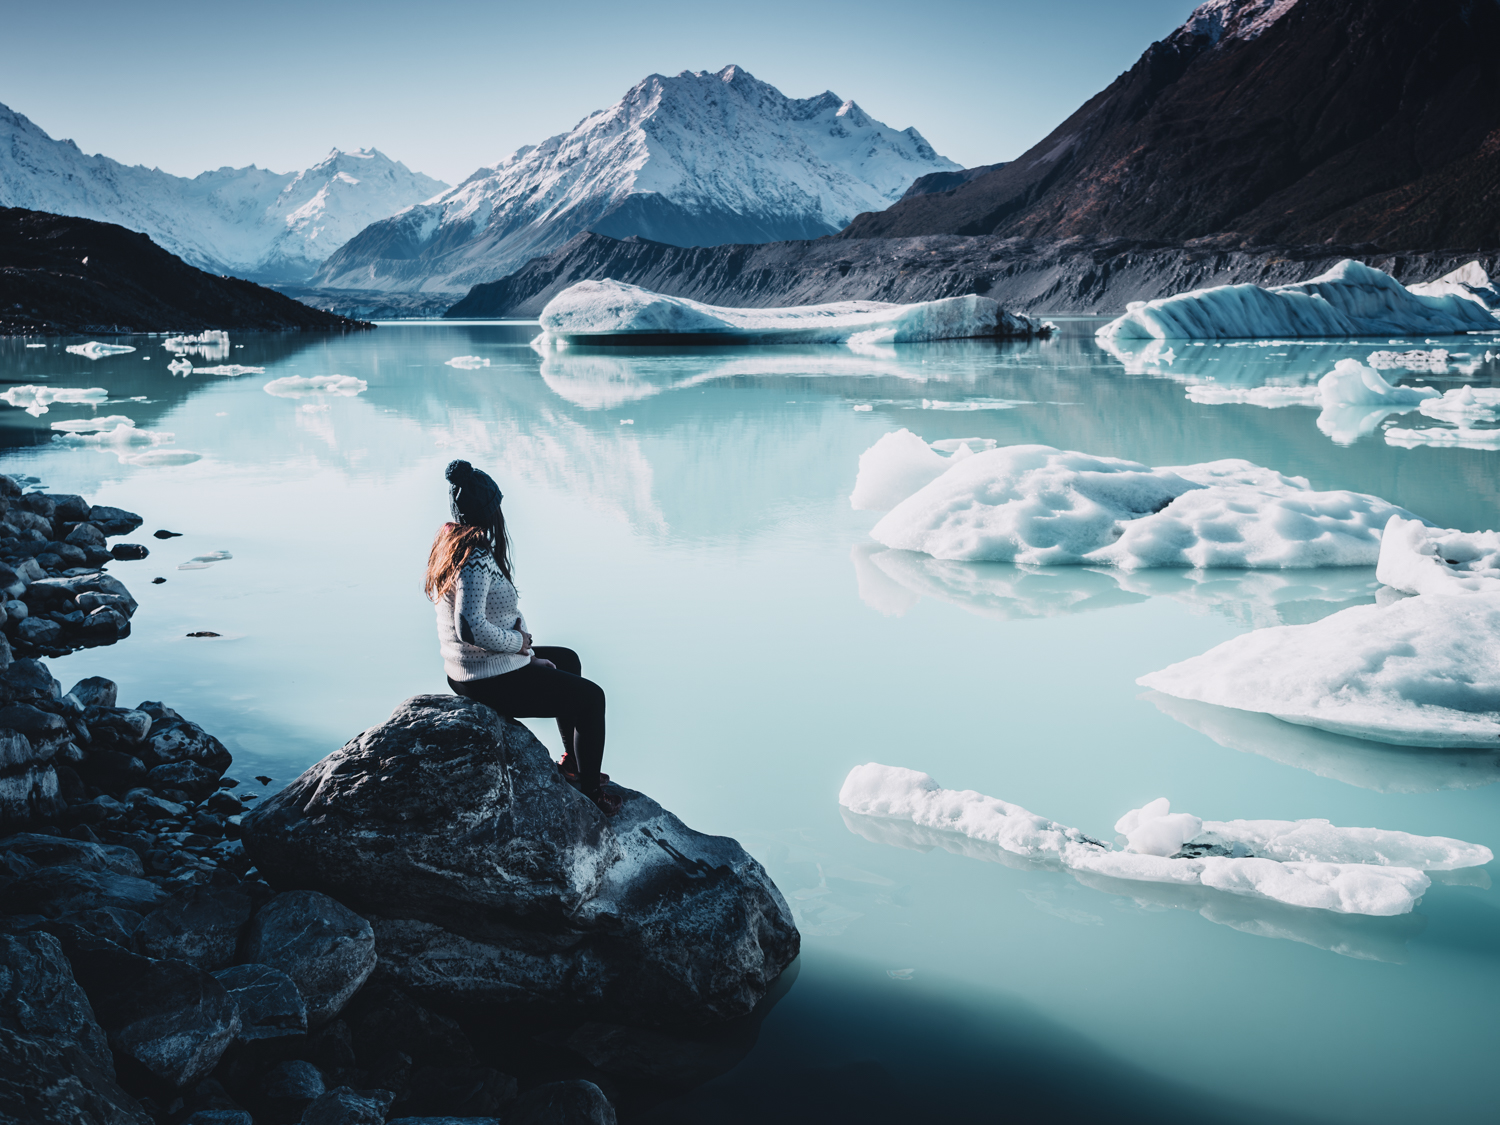
I took this self-portrait while waiting for the biggest adventure of our lives—I was 7 months pregnant, just soaking in the view of Tasman Lake (Mt. Cook National Park, New Zealand) and the snow-dusted hills. Every adventure is unique, and we all experience them in our own way.
This kind of photography can totally push you out of your comfort zone—but that’s what makes it so fun! It’s a challenge, but there’s nothing more rewarding than capturing yourself in an epic location exactly the way you imagined it.
The Challenges of Self-Portraits
Being both the photographer and the subject isn’t always easy. Without someone to direct you, you have to stay aware of your body position, which takes some getting used to. At first, your shots might not turn out the way you hoped, but with practice, you’ll start to figure out what works—and what doesn’t.
And trust me, you’ll end up with plenty of funny stories along the way. I still laugh when I think about one of mine—sprinting barefoot across a freezing beach at sunrise, trying to make it back into position before the timer went off. My toes were completely numb, but the light was too perfect to stop. It wasn’t until the sun climbed higher that I finally put my shoes back on!
My self-portrait with the Aurora Australis—one of those nights I’ll never forget! I waited around 5 hours for the aurora to show up, and when it finally did, it was absolutely magnificent. This spot had a direct view south across the Pacific Ocean, making it perfect for the show. But with these light conditions, capturing a self-portrait wasn’t easy.
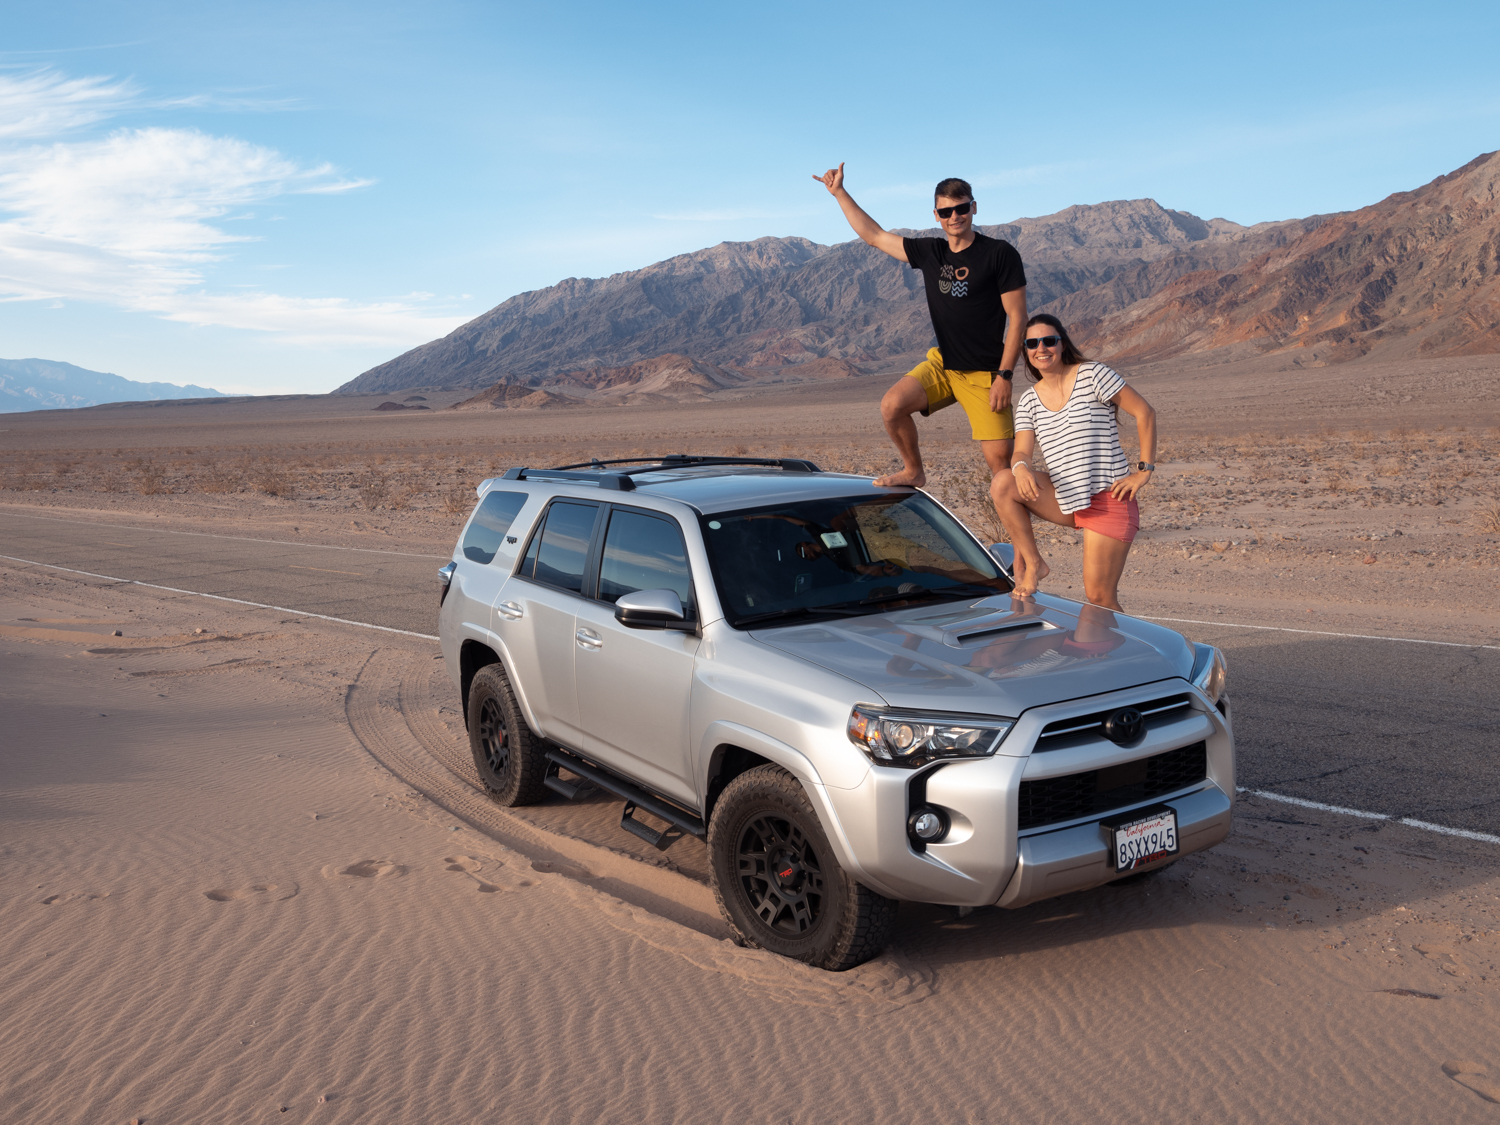
Another Behind the Lens story takes me back to when we rented this massive Toyota 4Runner in LA and set off on a road trip through the western U.S., chasing the best powder snow. One of our first stops was Death Valley National Park, and we had this idea—let’s snap a photo with this beast of a car, still clean with its LA plates, before it got completely covered in dirt.
We pulled over, got the shot… and then realized we were stuck. We had parked a little too deep in the sand, and no matter what we did, the car wouldn’t budge. Kuba frantically switched to 4×4 mode, and thankfully, that saved us. But it was a close call—imagine kicking off and ending a ski trip in the middle of Death Valley, buried in sand!
That’s the thing about adventure photography—you never know when a simple self-portrait will turn into a full-on survival story!
Our self-portrait with our Toyota 4Runner featuring an LA plate in Death Valley National Park, before our skiing road trip in the USA.
Mastering self-portraits is a journey. You won’t nail it on the first try, and that’s totally fine. The more you practice, the better (and more natural) it will feel—and before you know it, you’ll actually start having fun with it.
Overcoming the Fear of Being Watched
Taking self-portraits in public can feel a little awkward at first, but don’t let that stop you! The truth is, most people won’t even notice, and if they do, you’re probably never going to see them again.
Personally, when I have a chance, I love capturing self-portraits on our adventures. I don’t share all of them—some are just for us to enjoy at home.
Sure, people might give you that look like, “What’s she doing?” But honestly, I don’t mind. I like to think I might be inspiring someone, and next time, they might give it a go too.
If you’re feeling nervous, start in a quiet spot to build up your confidence. The more you do it, the less you’ll worry about what others think, and your creativity will really start to flow. And before you know it, you’ll notice more and more people doing the same thing!
Self-Portrait Photography Gear Guide
You don’t need much, but a few key items make self-portrait photography easier and more effective:
➜ Camera & Lens – A 50mm lens is great for self-portraits, but a wide-angle lens works well for environmental shots.
➜ Tripod – Essential for stability and composition.
➜ Memory Card – If using time-lapse mode, ensure you have a large memory card since you’ll end up with multiple images.
➜ Remote Shutter Release – A game-changer! Use a remote, a camera app, or set your camera to take photos at 2-3 second intervals (time-lapse).
➜ Photography Location – Plan ahead to ensure the best composition and lighting.
Remote Shutter vs. Time-Lapse Mode
A remote shutter release is a game-changer for capturing the perfect shot at just the right moment. If you don’t have one, no worries—time-lapse mode works wonders too. It takes photos every few seconds, giving you time to adjust your pose between shots.
The choice is totally up to you—whatever works best for your style. Just a heads-up with time-lapse mode, though: you’ll end up with a lot of images to go through, so make sure you’ve got a large enough memory card.
I use the remote shutter button on my phone, and it works like a charm! The only thing I have to be mindful of is the phone itself—I don’t want it sneaking into my shot.
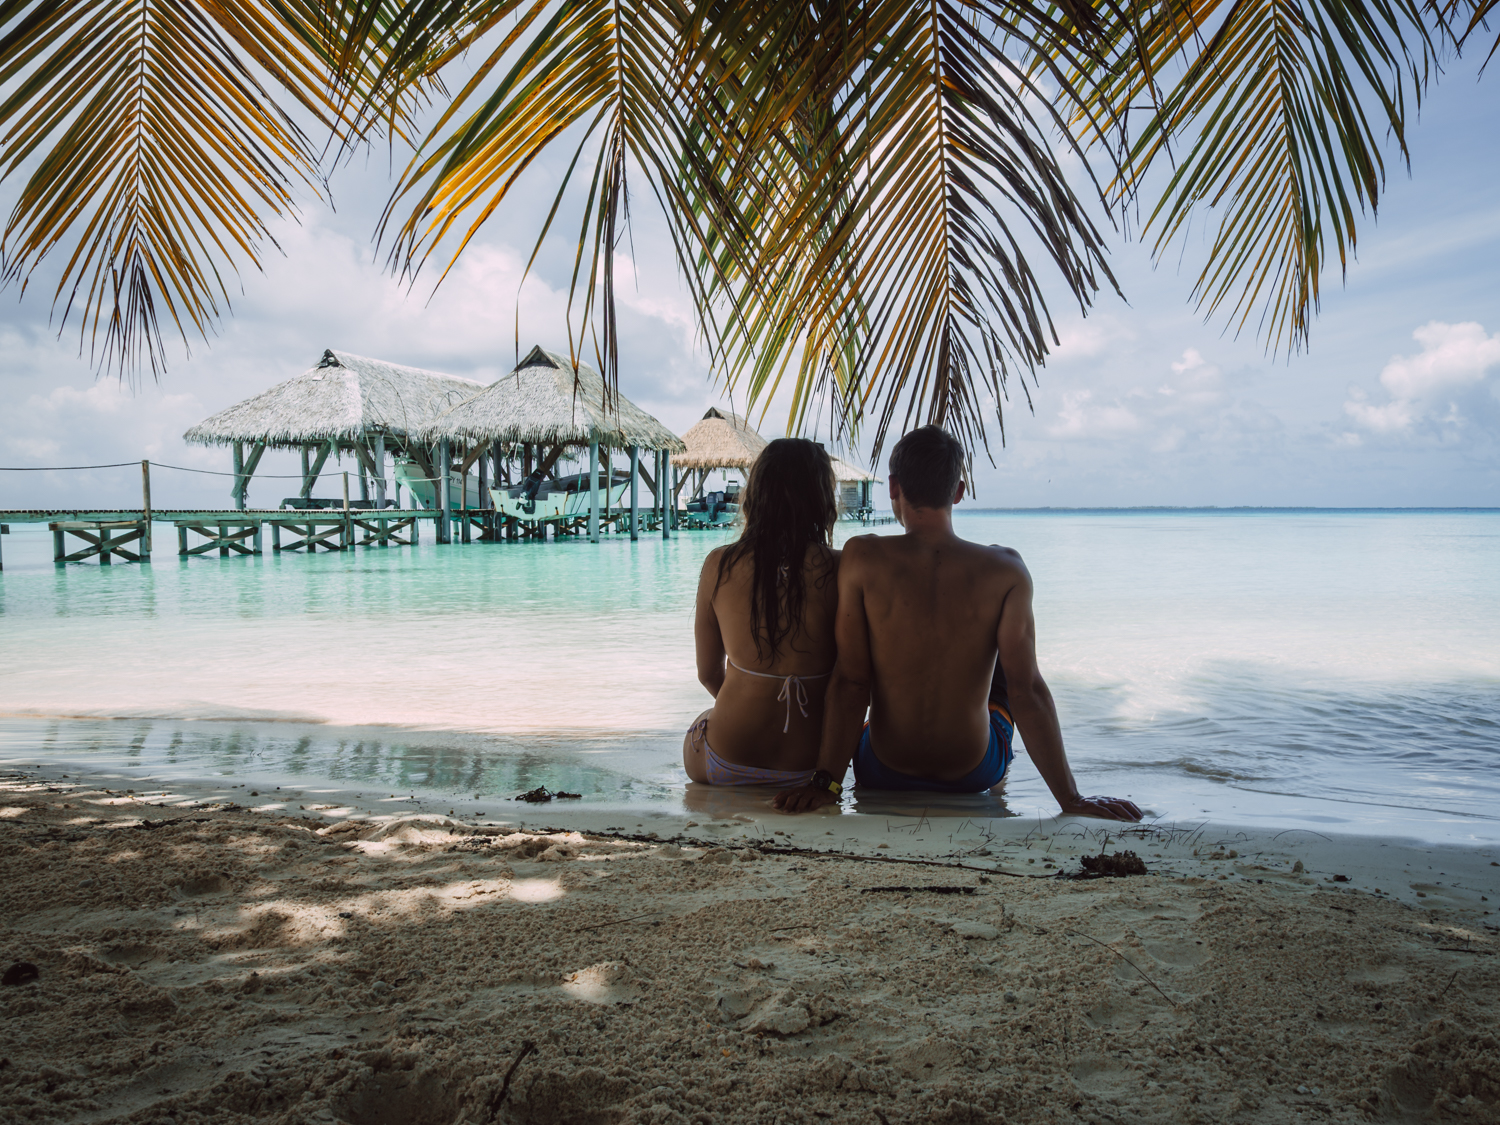
We had this paradise in Fakarava, French Polynesia, all to ourselves—gotta love traveling outside peak season!
Best Camera Settings for Self-Portraits
Mastering your camera settings is key to getting sharp, well-exposed self-portraits. Switching to manual or semi-manual modes gives you more control over aperture, shutter speed, and ISO.
➜ Aperture & Depth of Field – Play around with different f-stops. Try f/8.0 for sharpness across the frame, or f/2.8 for a beautiful, dreamy background blur. It all depends on the look you’re going for.
➜ Shutter Speed – A fast shutter speed is essential to avoid motion blur, especially in windy conditions. Aim for at least 1/300s. In windier weather, go for even faster speeds, like 1/800s, to freeze motion and prevent blurred clothing.
➜ ISO – Adjust your ISO based on the lighting around you. During golden hour or blue hour, you might need to bump it up a little to keep things sharp and bright. ISO is usually the last setting to adjust, after aperture and shutter speed.
How to Ensure Sharp Focus in Self-Portraits
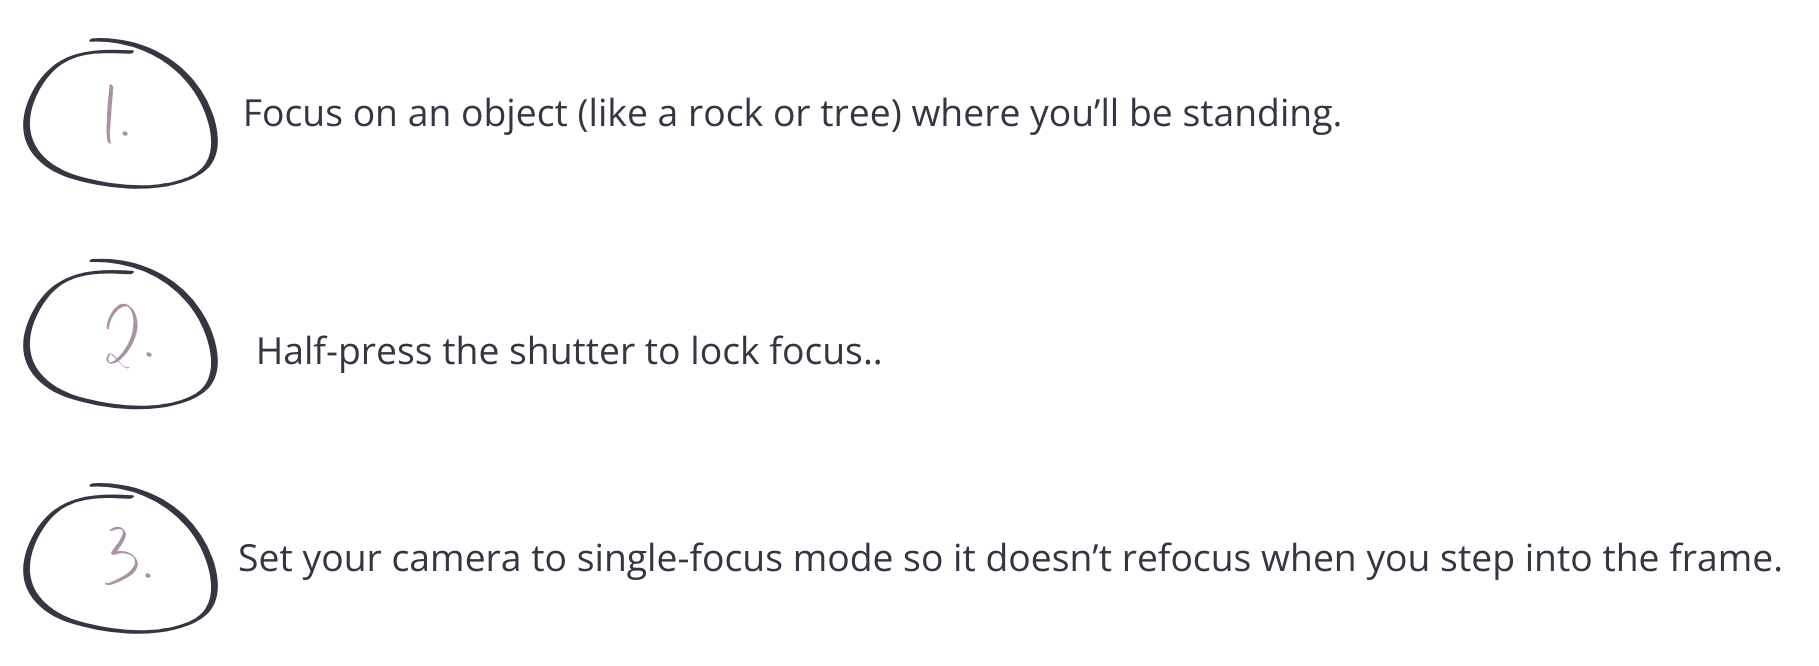
If your focus is off, the image is ruined—and trust me, I’ve made that mistake plenty of times! Nothing’s worse than having the foreground sharp while you’re blurred. To avoid this, follow these steps for sharp, focused shots:
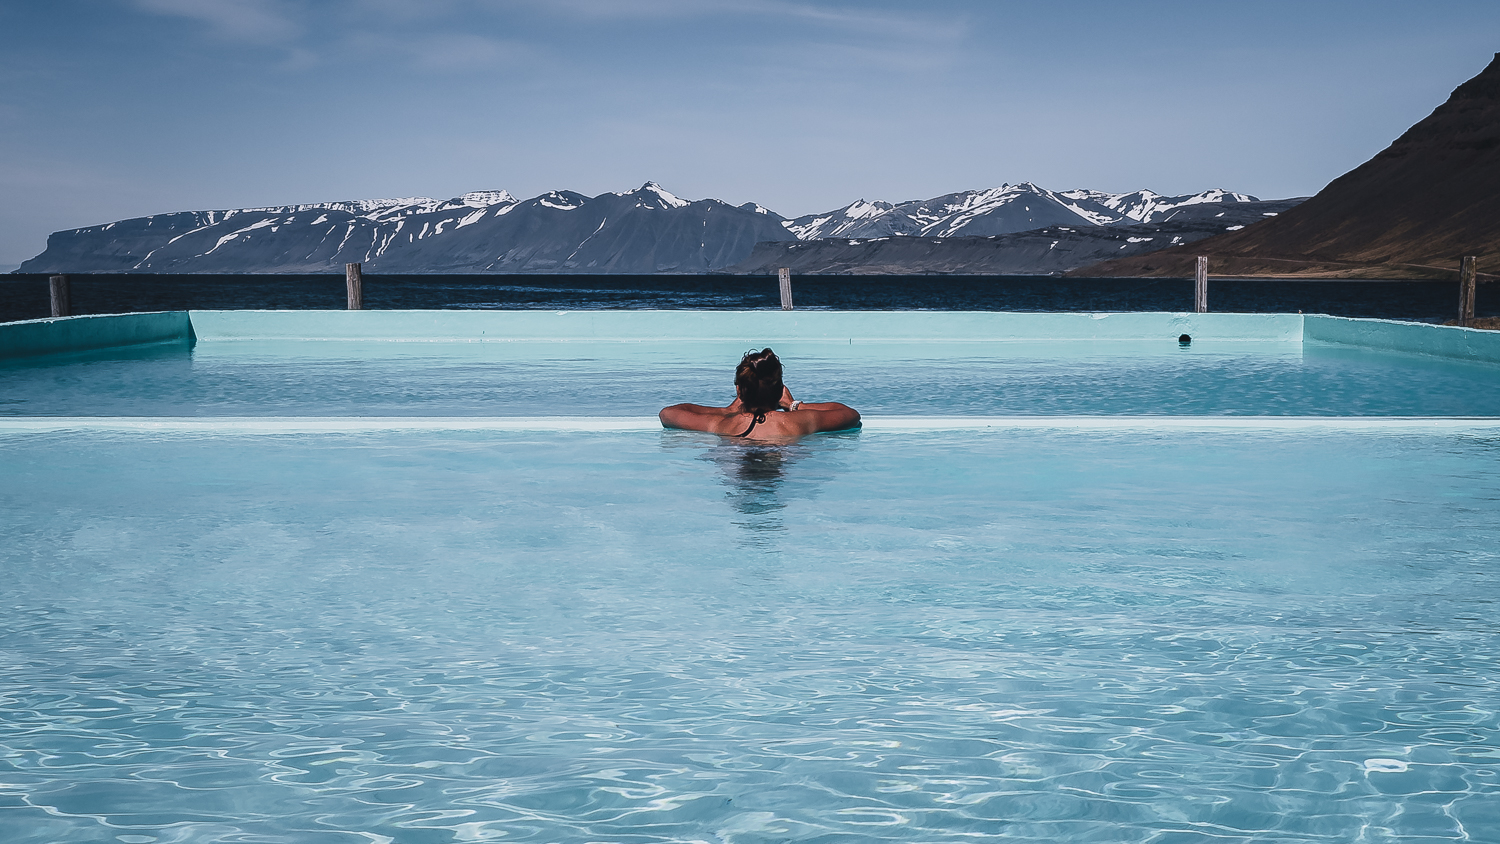
I think this is my first self-portrait from my solo trip to Iceland. I just had to capture this moment—soaking in a hot pool in the Westfjords, all by myself, with no one else around.
Light & Shadows: Pay Attention!
Lighting is everything in photography—it’s how you “paint” your image. Always be mindful of how light falls on you and your surroundings. Ask yourself: What time of day is it? Where is the sun coming from? Where are the shadows?
In portrait photography, many photographers swear by the golden hour, which creates that soft, warm light. If you can, wait for it!
Outfit Choices: Stand Out from the Scene
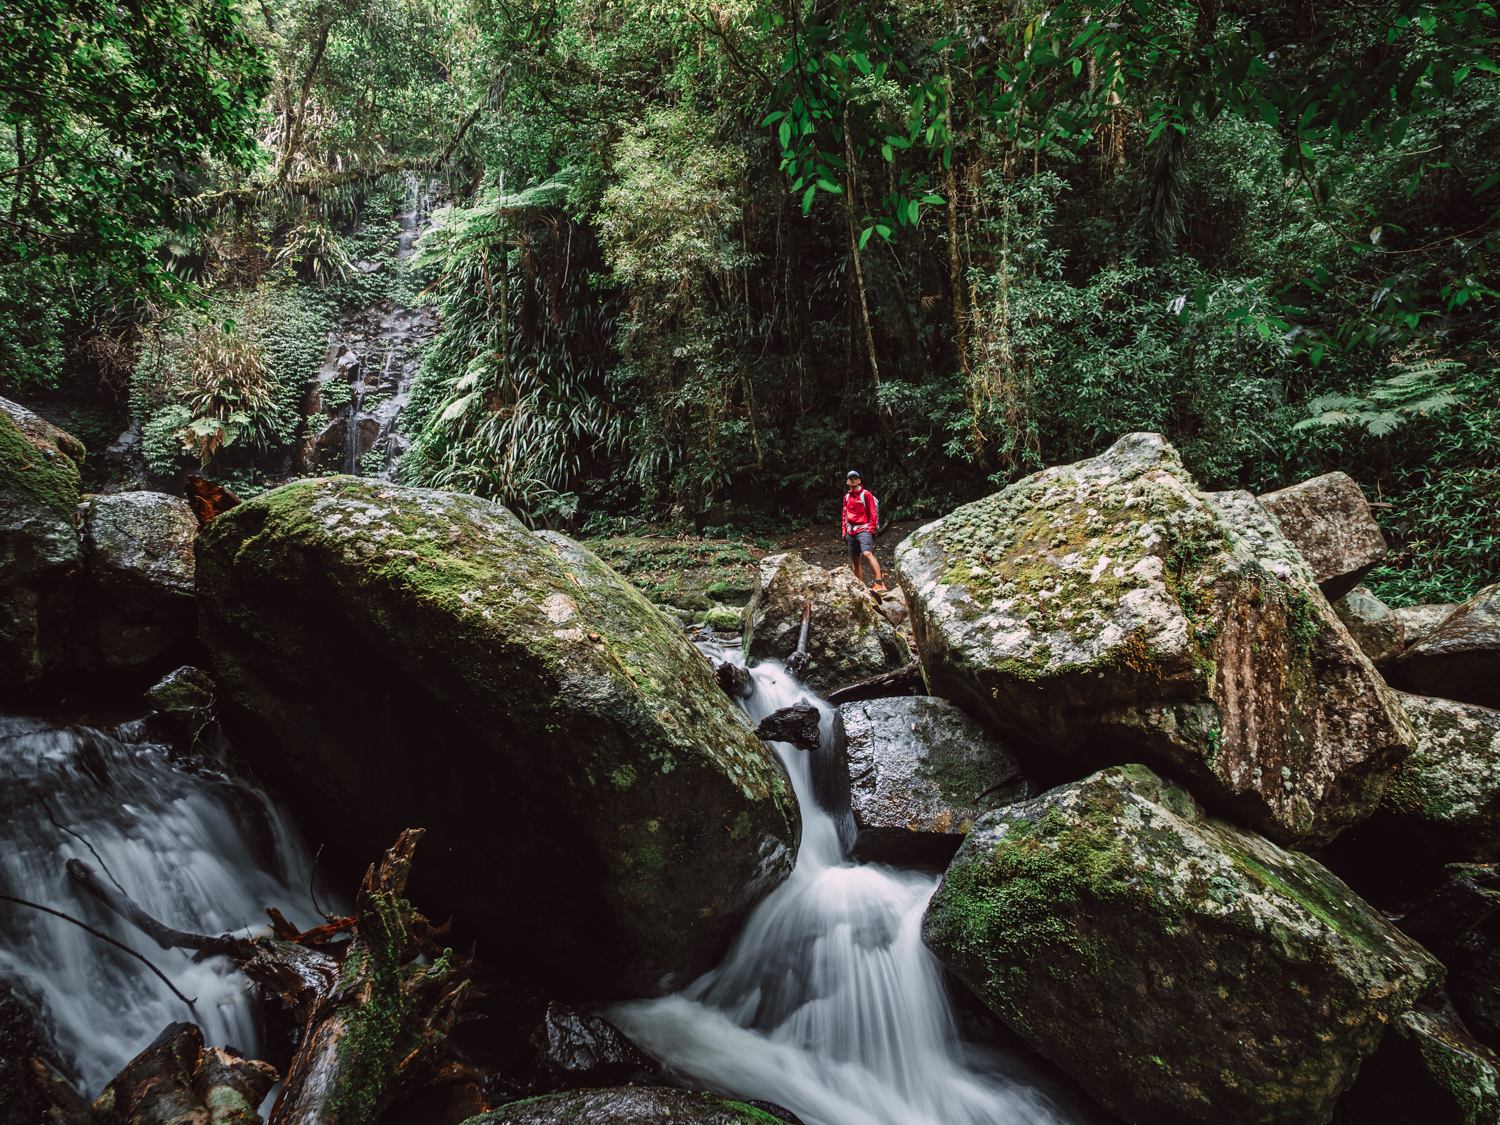
Choosing colors that pop against your surroundings can instantly take your self-portraits to the next level. Instead of blending in, you’ll stand out and create a more eye-catching image. A little color contrast goes a long way—it helps draw attention to you while keeping the scene visually interesting. So next time you’re picking an outfit, think about how it’ll work with the landscape around you!
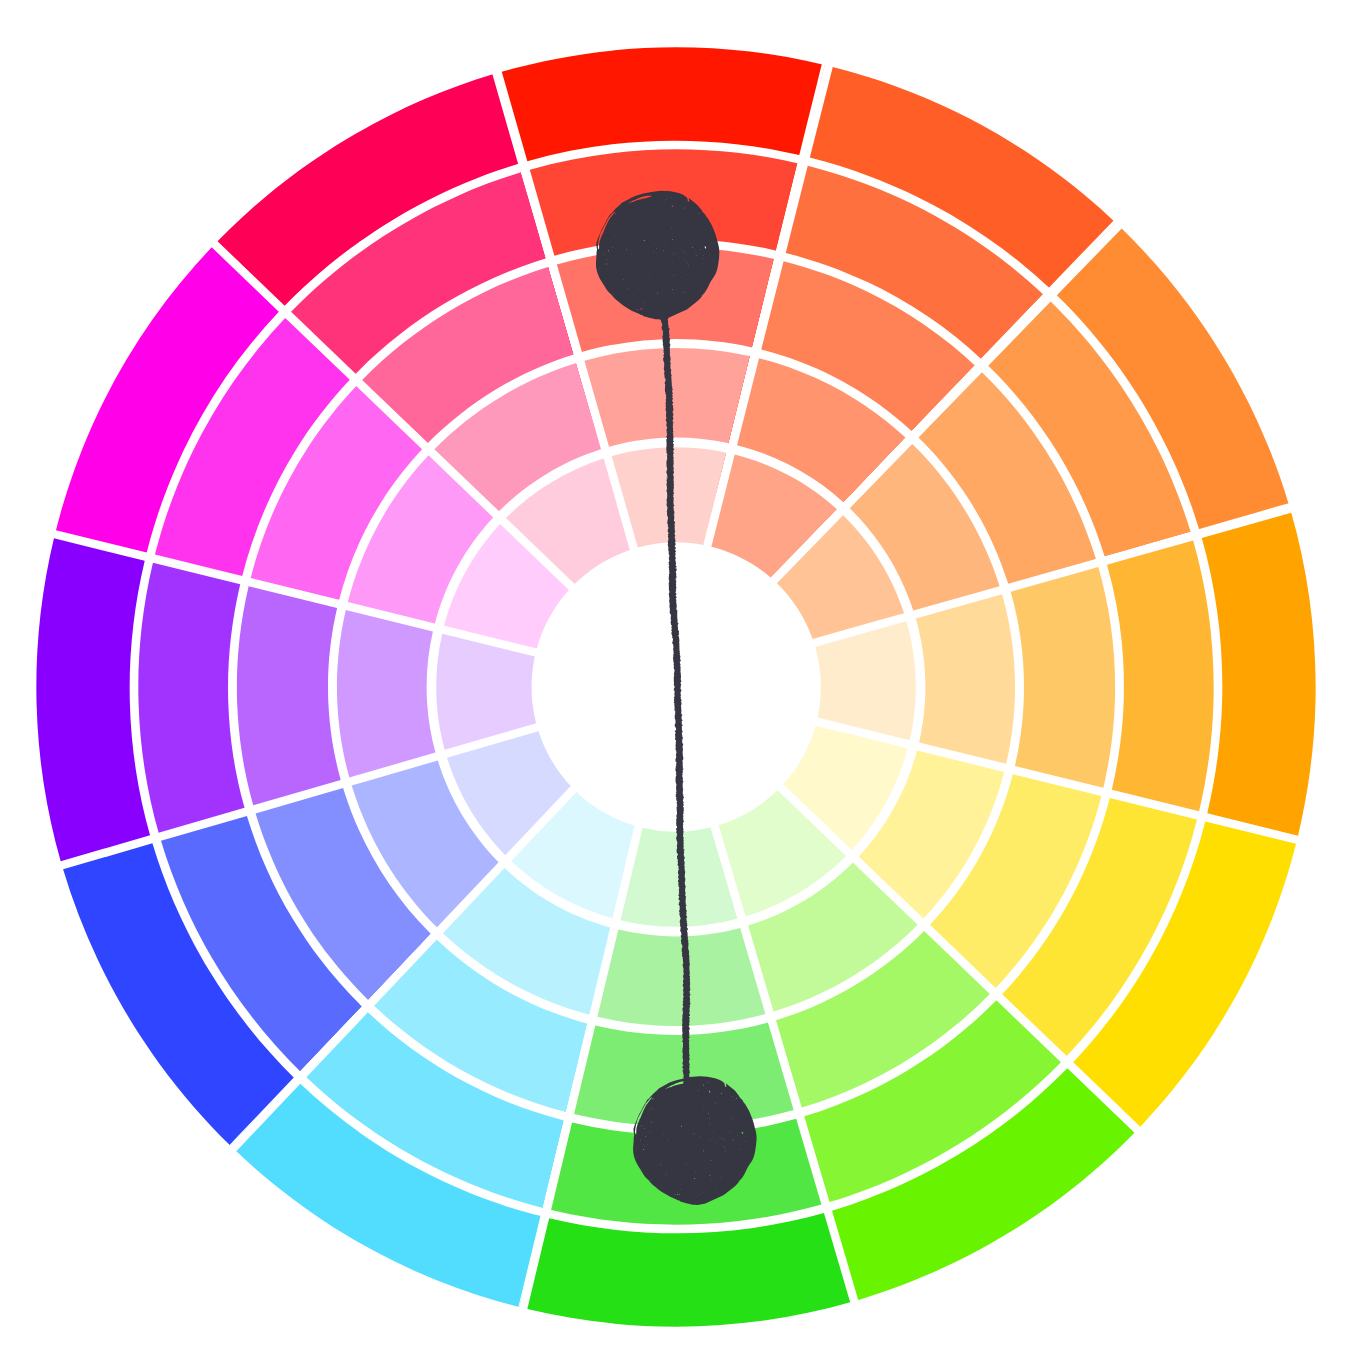
One of the easiest ways to find the best contrasting colors is to use the color wheel—just pick colors that are opposite each other for a bold, vibrant look! This trick makes it so much easier to choose the perfect outfit and gear that will really pop in your photos.
Here are some practical color examples from my adventures:
- In a green forest → Wear red or orange for a bold contrast.
- While skiing → A yellow jacket stands out against white snow.
- On a black sand beach → White or light-colored clothing makes a striking effect.
Green and red make such a perfect combo for this waterfall in Lamington National Park, Australia. But tell me—would Kuba stand out more in a green or blue jacket here?
Composition: Make Your Shot Interesting
Composition is key to creating visually appealing self-portraits. Try applying these techniques to improve your images:
➜ Rule of Thirds – Position yourself slightly off-center for balance.
➜ Leading Lines – Use paths, rivers, or natural elements to guide the viewer’s eye.
➜ Framing – Incorporate branches or rock formations to add depth.
➜ Perspective & Angles – Experiment with lower or higher angles for variety.
Body Position: Avoid Looking Stiff
Even with perfect lighting, settings, and composition, an awkward pose can ruin the shot. Here are some tips:
➜ Shift your weight to one leg for a relaxed stance.
➜ Turn your back to the camera for a storytelling effect.
➜ Sit down or engage with your surroundings.
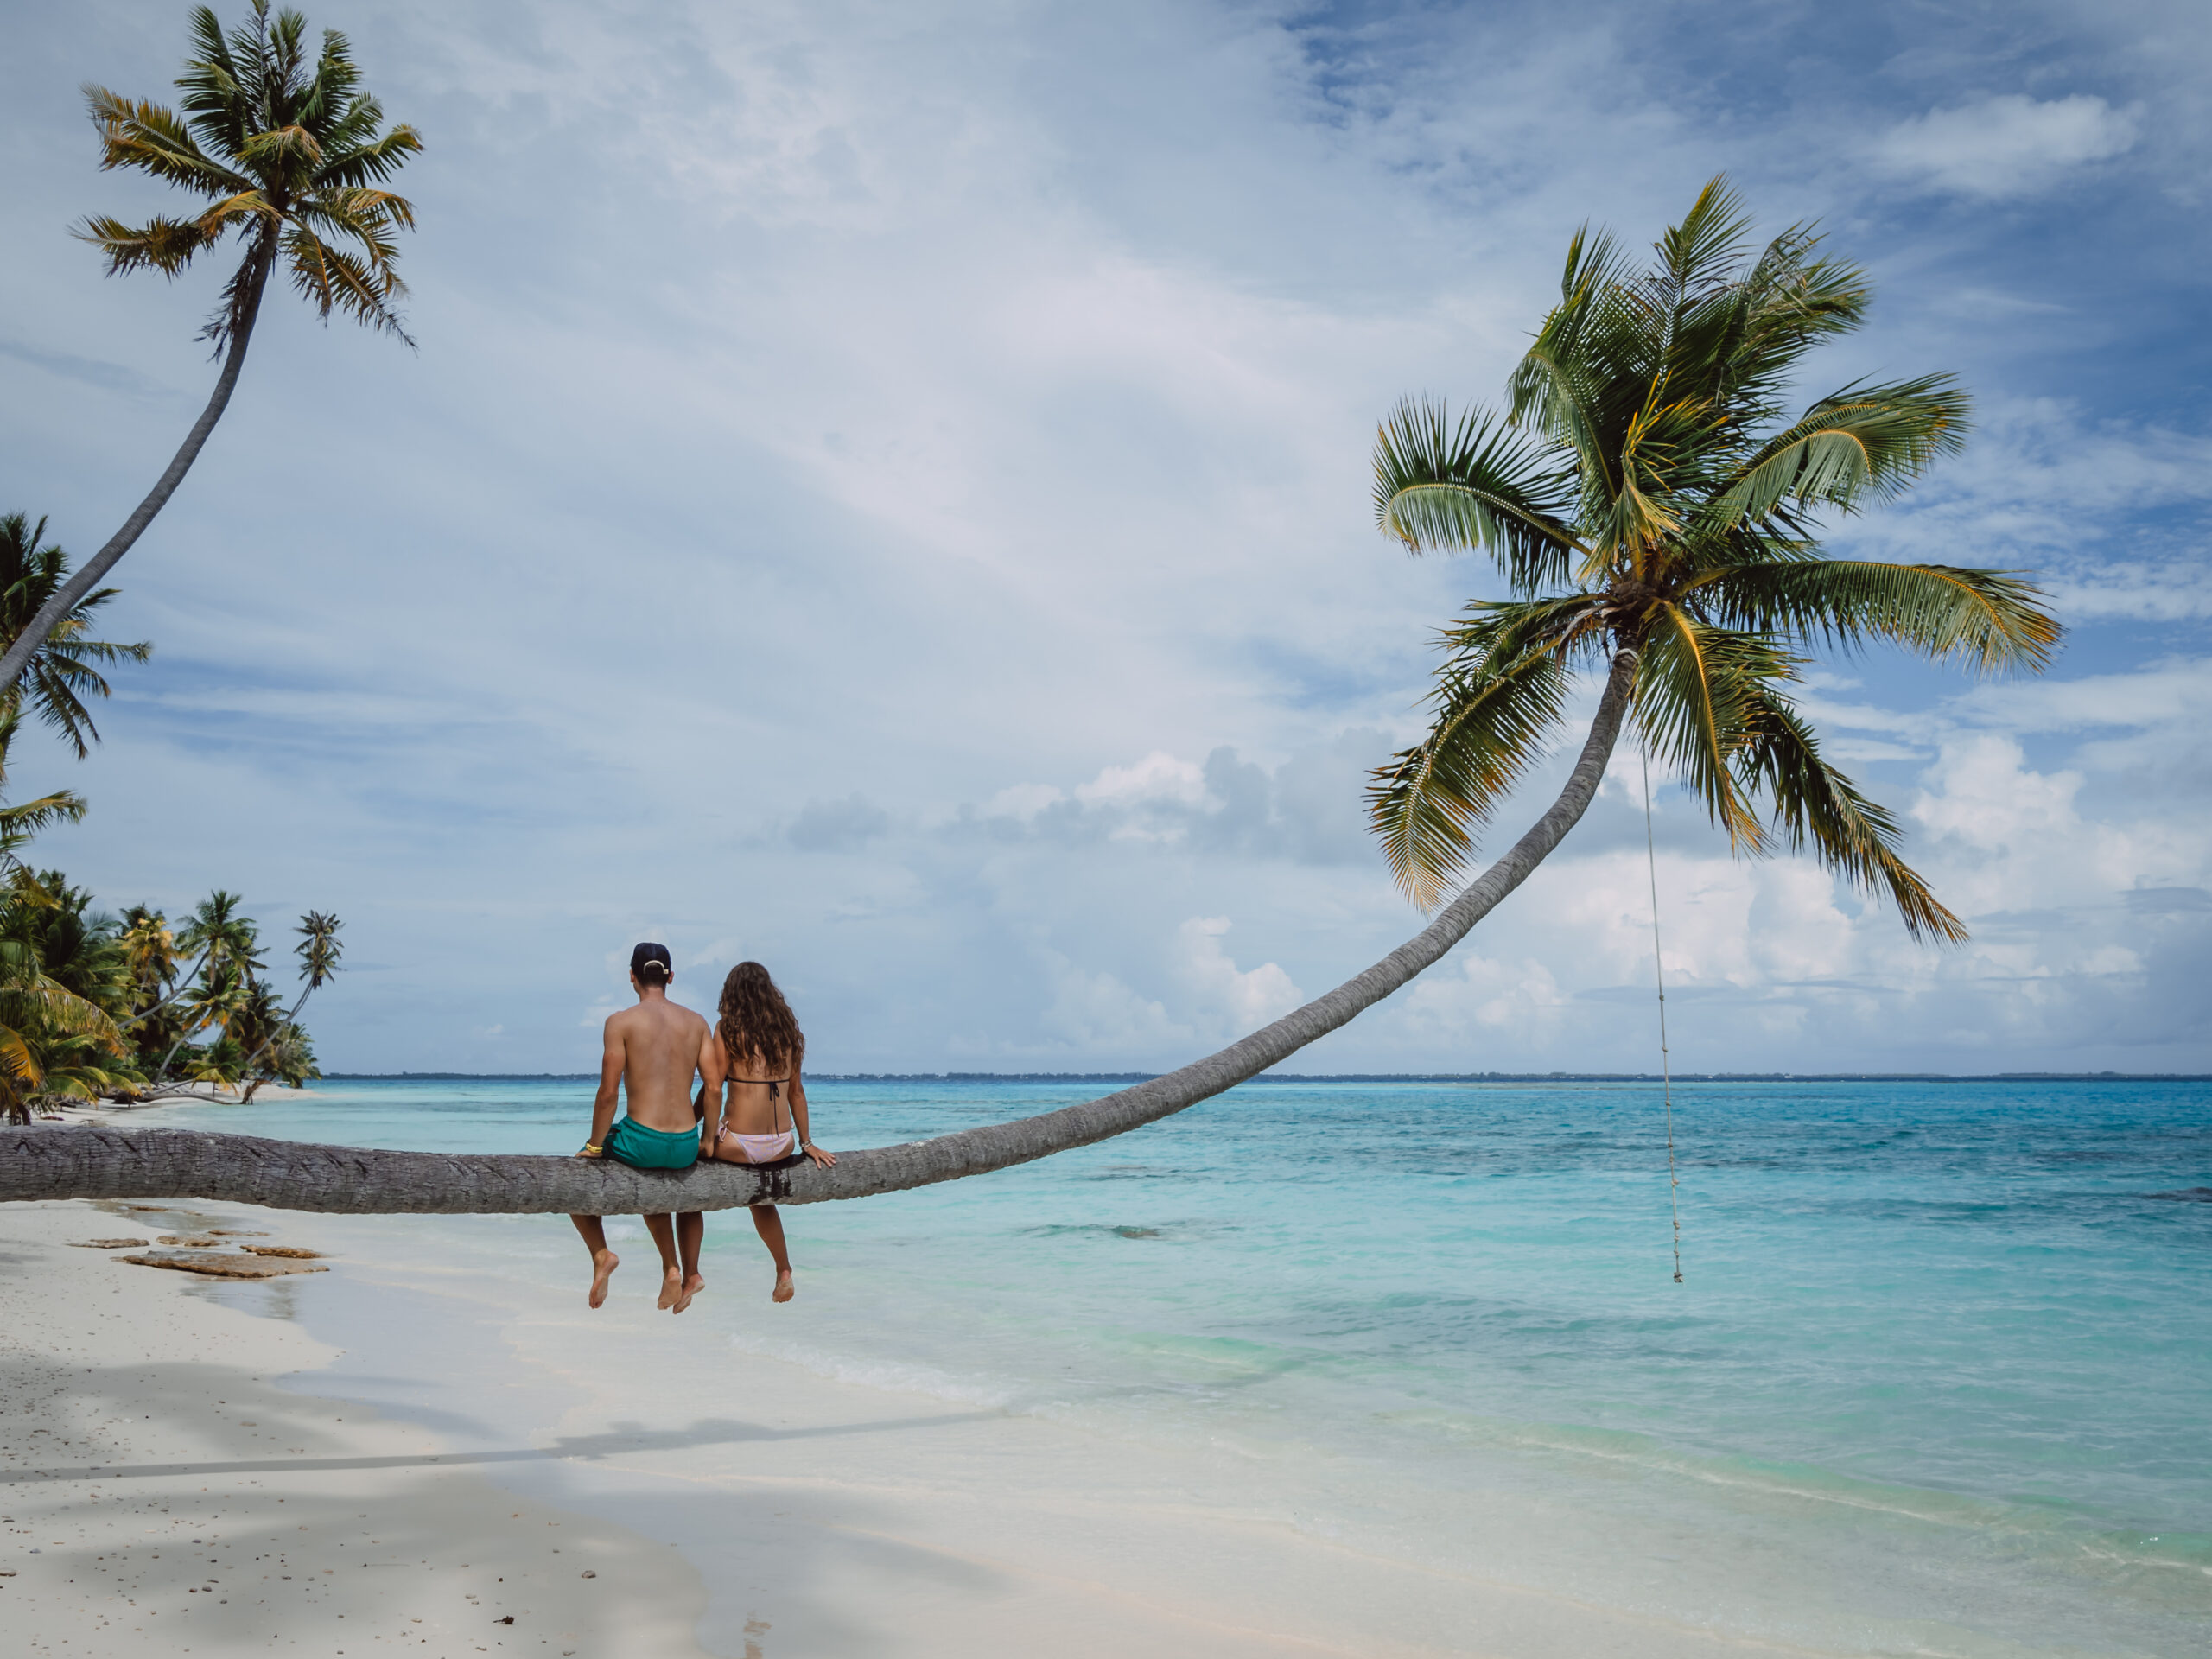
Sitting on this palm tree in Fakarava, French Polynesia, perfectly tells the story of our Pacific adventure. Finding this spot wasn’t easy—we biked 10 km on terrible bikes and, of course, forgot our water back at the accommodation. Do we look thirsty in this shot? 😅
Final Tips: Always Check Your Images!
Review your shots as you go to make sure you’ve captured what you want. There’s nothing more frustrating than realizing later that the perfect shot was out of focus!
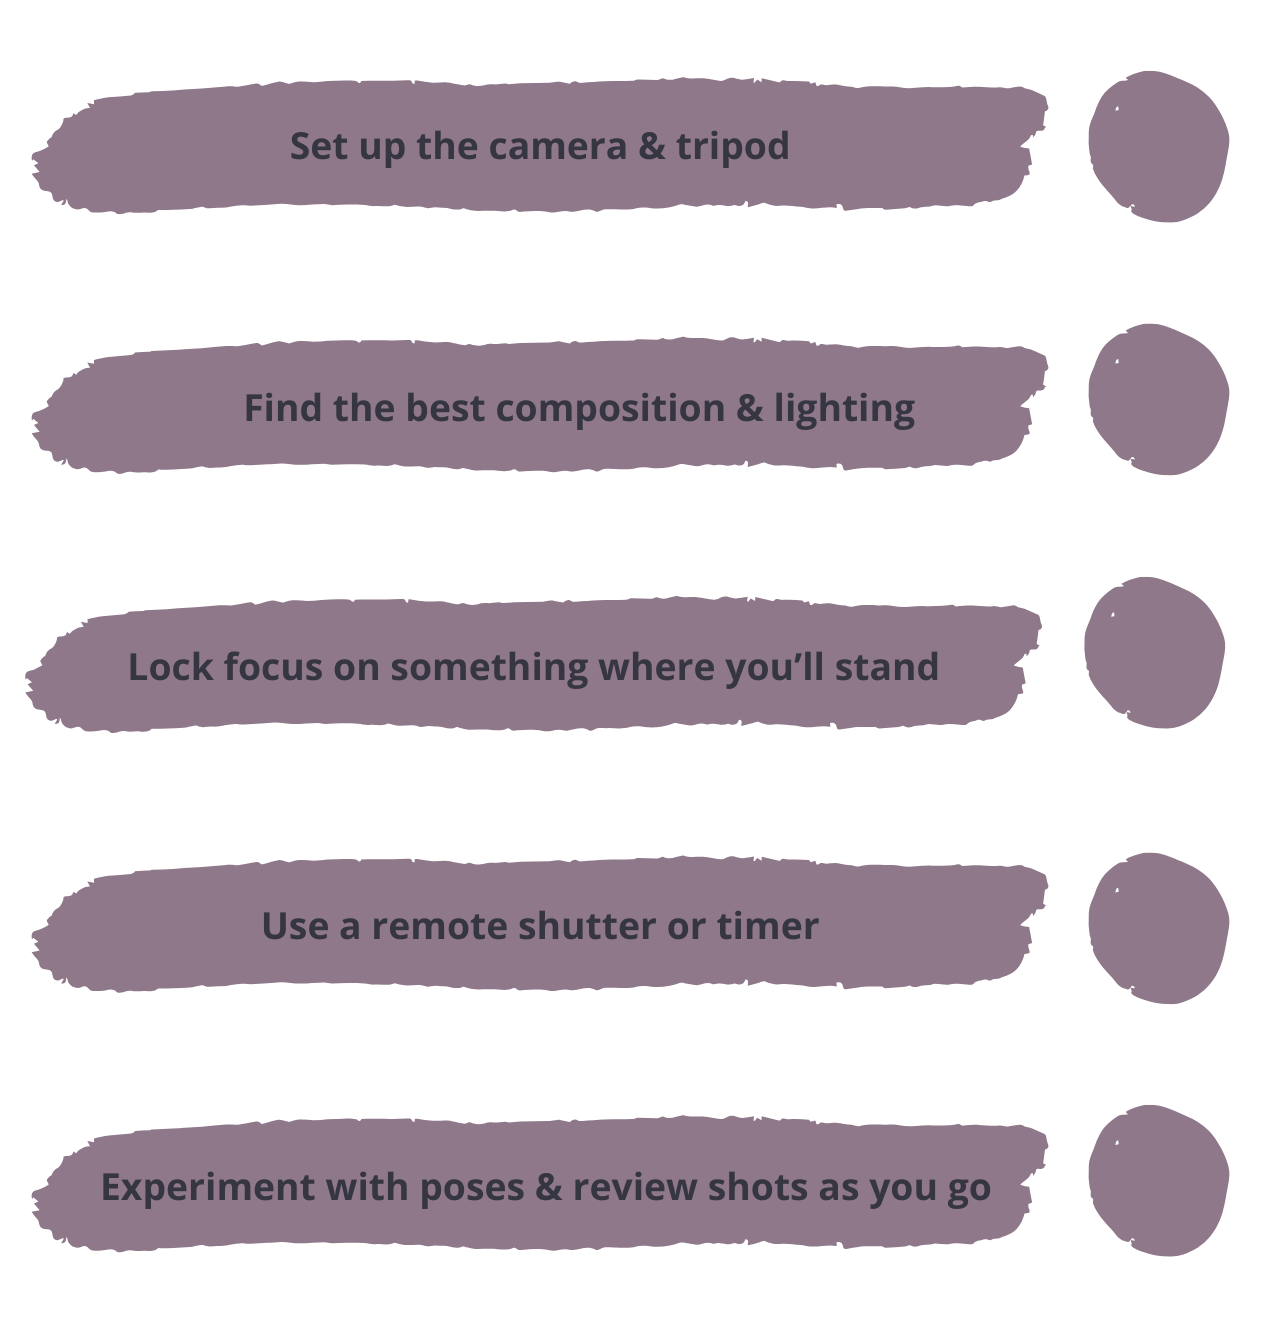
My Quick Self-Portrait Checklist
I hope my quick checklist helps you with mastering self-portrait photography during your adventures!
Final Thoughts About Self-Portraits
It’s not just about getting the perfect shot—self-portraits are about having fun! I always have a vision in mind, and sometimes, I even get my husband, Kuba, to join me. (Though he’s not the most patient model, so I don’t get many chances! 😅)
Capturing self-portraits is a fantastic way to document your adventures and elevate your photography skills. With practice, patience, and a little creativity, you’ll achieve impressive results. Whether you choose to include yourself in the shot or focus purely on the location, they allow you to express your unique perspective.
Want to take your photography to the next level? Download my free e-book: 4 Key Tips to Break Away from Ordinary to Extraordinary Photography.
Do you take self-portraits? What’s your biggest challenge? Let’s chat in the comments!
Happy self-portraiting!
Keep reading:

I’m Kat, an adventure and landscape photographer based in the South Island of New Zealand. My mission is to inspire and teach you—new and aspiring photographers with a passion for adventures, landscapes, nature, and travel. I’m here to help you transform your ordinary images into stunning ones you can be proud of. More about me